The world is changing every second continuously, and over the years, Machines has become an integral part of our lives. Technology has changed everything – Our Lifestyle, communication and definitely our perspective also. In this race of evolving technologies, Robots are the race which raised in number over the years.
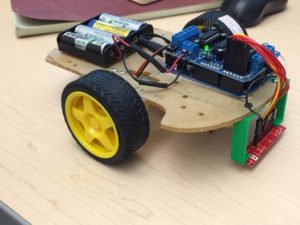
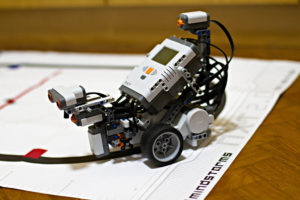
So, Today we are building a Robot, actually a Line Follower Robot and I will give you step by step guide to make your own robot out from scratch.
Q. – What is a Line Following Robot ?
-: A Line Following Robot or a Line Follower is an autonomous robot which follows either black line in white area or white line in black area, which depends on the signal received by the sensor and then processed by Microcontroller, which decide the speed and direction of motors.
Q. – How does a Line Follower Work/ Working of a Line Following Robot.
-: A Line Following Robot is a simple robot which do a certain task of following a black line by input sensor.
A basic Line following Robot has 2 IR Transmitting sensor which is made up of an Infrared LED and a Photodiode. The IR LED transmits light rays to the surface and it bounce back from it and catches by the photodiode which then generates a signal and gives it to Microcontroller like Arduino, which processed the signal and then transfer it to Motor driver board which converts the signal into PWM (Pulse Width Modulation) signal which gives the motors the indication to move. The speed and direction depend upon the intensity of light captured and how strong the signal is.
Now that we know, What a Line Follower is and how does it work. So, Now directly jump into the making. In this one, We are not using any Microcontroller. So, Let’s get started.
3. Material Required
1. 2 geared DC Motors/ BO Motors with wheels
Buy from here: https://amzn.to/2ETrouT
2. 2-IR sensors
Buy from here: https://amzn.to/2ESvLWZ
3. Chassis
4. L293D Motor Driver Board
Buy from here: https://amzn.to/2KtecR1
5. Jumper Wire (Male – Male, Female – Female & Male – Female)
Buy from here: https://amzn.to/2Kyo3ou
6. 9V battery (Everyday)
Note: If you are using local 9V battery then it won’t be enough to power the circuit. Use them in series, at least 4-5.
7. Battery Caps
8. Castor Wheel
Buy from here: https://amzn.to/2QP3upg
· Tools Required
1. Scissor
2. Electric Tape
3. Screws and Nuts
4. Double Sided tape
5. Soldering Iron
Let’s Make
1. In this tutorial, I am going to use switch ply board to make a chassis, you can use anything like cardboard plastic etc.
2. Take two rectangular sized plywood or Cardboard placed and make holes in it.
3. Then take the double sided tape and stick the motors on the Lower Plate.
4. Place the upper plate now and make it stick using double sided tape and screws.
5. Screw the castor wheel to the front of the base.
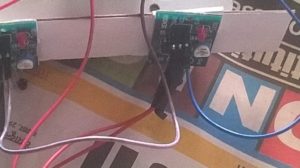
6. Now take a cardboard pieces and by using double sided tape, stick the IR sensors on it upside down so that they can face the surface.
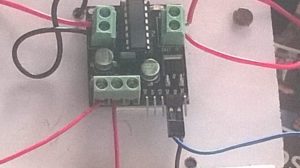
7. Now place the L293D module on the upper plate.
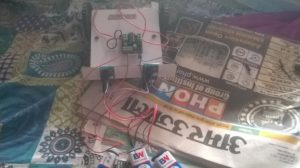
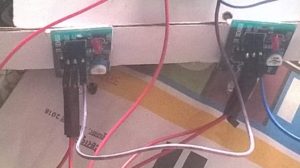
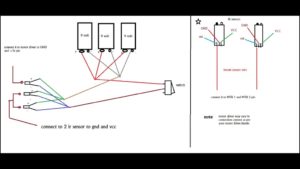
8. Now, do the wirings as follows:
· IR 1 – GND to IR2 – GND
· IR1 – VCC to IR2 – VCC
· IR1 & IR 2 – GND to L293D – GND
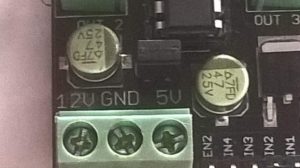
· IR1 & IR 2 – VCC to L293D – 5V
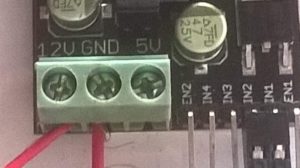
· Battery – +ve terminal to 12V and –ve terminal to GND (L293D)
Please follow the circuit diagram for the help.
Here’s a small video of robot while testing:
Applications of Line Follower Robot
· Industrial Applications – These robots can be used as automated equipment carriers in Industries replacing traditional conveyor belts.
· Automobile application – These robots can also be used as electromagnetic cars running on roads.
· Domestic Application – These can be used for domestic/Home purposes like Cleaning, Washing etc.
· Guidance Application – These can be used in Public places for guiding routes to visitors.
So, that’s it. Hope you like this post, You can also explore on other sections.
“Just Keep Creating”


