In this short article, we will be setting up the Damn Vulnerable Web Application using docker. The installation is being made for future articles covering the exploitation of various vulnerabilities in the application. But before that, let us understand what DVWA is and then we will proceed with our setup which is quite easy. So let’s get started without any delay.
Table of Contents
What is DVWA ?
Damn Vulnerable Web application or DVWA is an intentionally vulnerable PHP application developed in order to practice and learn web application penetrating testing. It covers various vulnerabilities like XSS, SQLi, CSRF and much more.
The DVWA setup:
Let’s get started with the setup. I am using Ubuntu 20.04 as my host and attacker machine here. You can install it on any Linux distro using the steps below.
- Use the below command to pull the docker image into your machine.
sudo docker pull vulnerables/web-dvwa
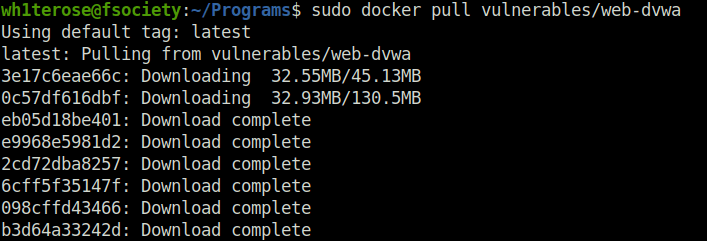
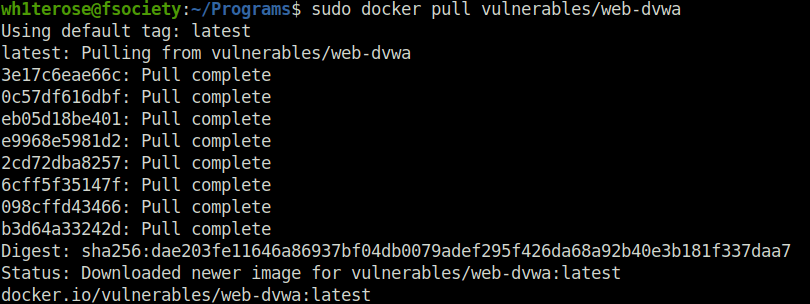
- Next, we will be performing the initial setup. For that, use the below command to run the installed docker image. In my case, there was apache server running on port 80. Make sure to stop the service before issuing this command to avoid any problem.
sudo docker run --rm -it -p 80:80 vulnerables/web-dvwa
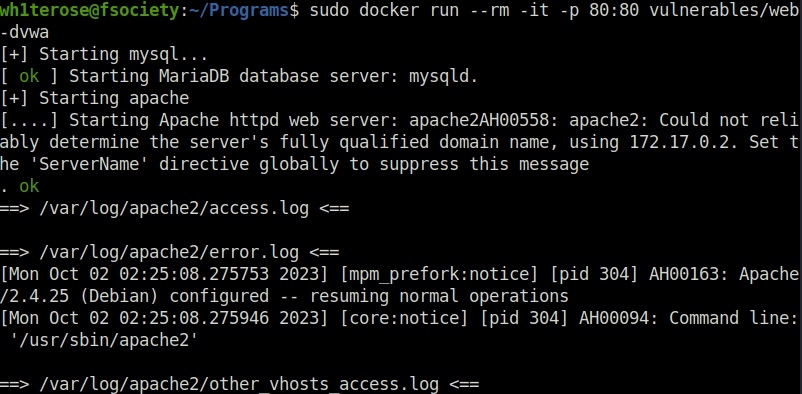
- Now, go to the localhost on your browser. You will be granted with a login screen. Use username as “admin” and password as “password” in the login panel and get access to the config page.
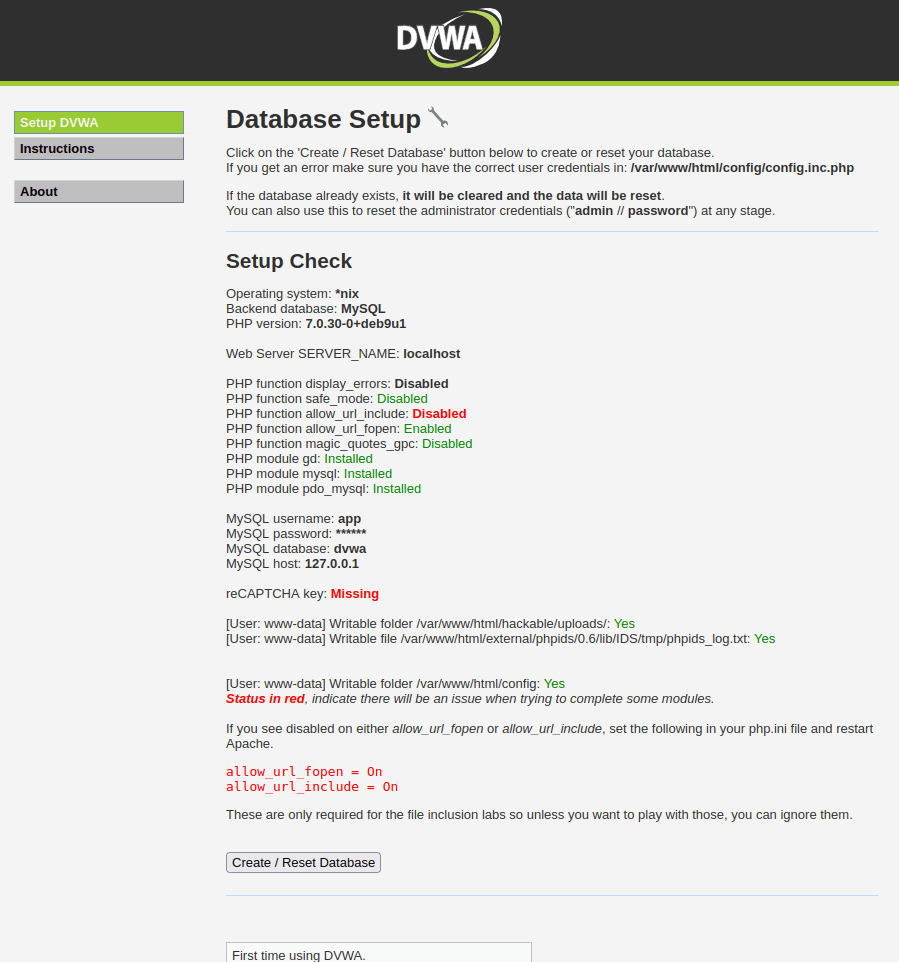
- Now we can see certain status in red here. Those are the missing or disabled modules. The important one that we have to enable is the “allow_url_include” function that is mandatory for the file inclusion module. We can still move ahead for the time being by hitting the Create/Reset Database button but we will configure it right now.
Missing Configuration:
- Use the below command to copy the php.ini file from the docker image and then edit the changes in it using nano. First check the docker image container ID using the below command.
docker ps
- Use the container ID to copy the php.ini file to your current working directory and then use nano to edit it.
sudo docker cp [docker container ID]:/etc/php/7.0/apache2/php.ini .

sudo nano php.ini

- Change the “allow_url_include = On” and save the file.

- Next, copy the php.ini back to the docker image. Then, access the docker image using the container ID and restart the apache service.
sudo docker cp php.ini [docker container ID]:/etc/php/7.0/apache2/php.ini

sudo docker exec -it [container ID] bash

service apache2 restart

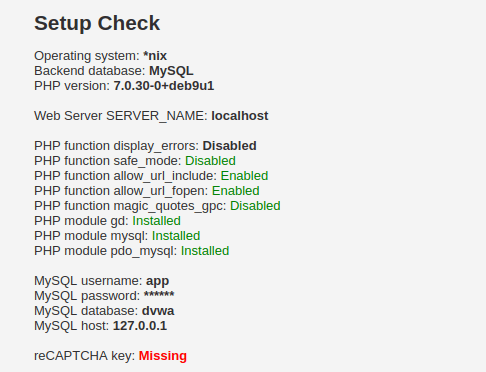
- Now, access the application again running on port 80 and the red flag against the module will be gone. Click on “Create/Reset Database”, login and access the application.
Also Read: Tryhackme – Juicy Details
So that was it. I found the docker method the easiest and hassle free than the regular method and i hope you too are thinking the same. This setup was done for the further articles that i will be covering regarding exploitation of the various vulnerabilities within the DVWA application, we will messing around with various security and IDS settings and will see if we can get around them. Well, on that note, i will take your leave, till then, “Don’t Sleep and Hack the Planet”.


