In this walk through, we will be going through the Nessus room from Tryhackme. This room will cover the set up and use Nessus, a popular vulnerability scanner. So, let’s get started without any delay.

Table of Contents
Task 1 – Introduction
Question 1 – I have read the description!
Done
Task 2 – Installation
Step 1 – Got to https://www.tenable.com/products/nessus/nessus-essentials and register an account.
Done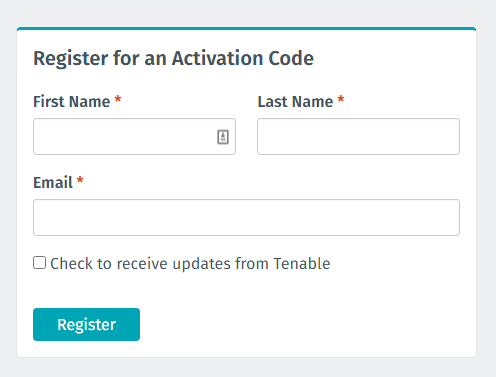
Step 2 – We will then download the Nessus-#.##.#-debian6_amd64.deb file. Save it to your /Downloads/ folder
Done
Step 3 – In the terminal we will navigate to that folder and run the following command:
sudo dpkg -i package_file.deb
Remember to replace package_file.deb with the file name you downloaded.
Done
Step 4 – We will now start the Nessus Service with the command:
sudo /bin/systemctl start nessusd.service
Done
Step 5 – Open up Firefox and goto the following URL:
You may be prompted with a security risk alert.
Click Advanced… -> Accept the Risk and Continue
Done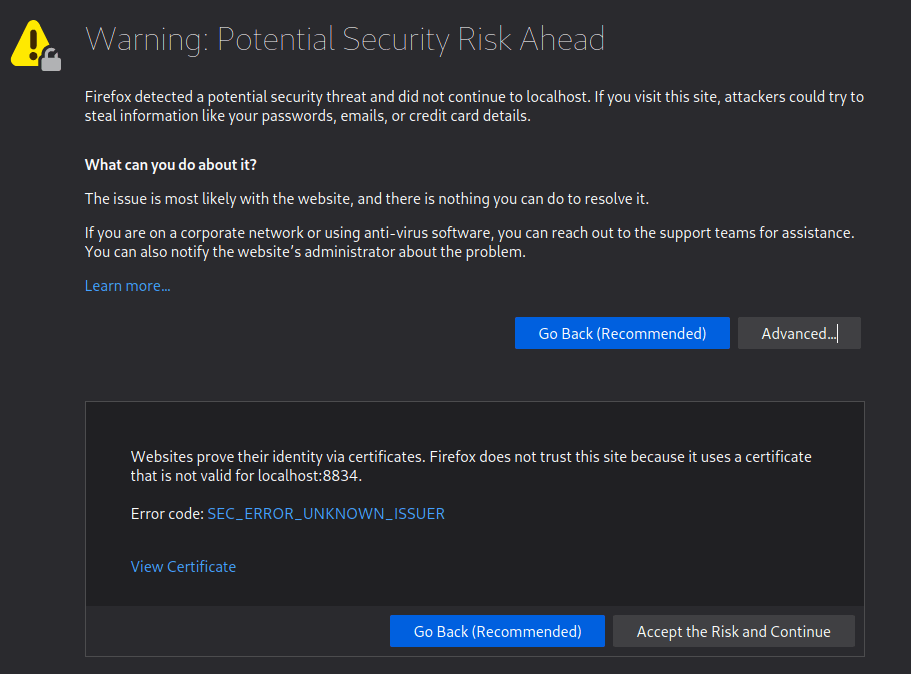
Step 6 – Next, we will set up the scanner.
Select the option Nessus Essentials
Done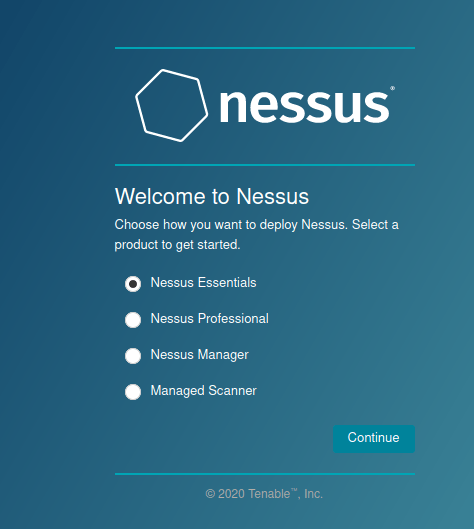
Clicking the Skip button will bring us to a page, which we will input that code we got in the email from Nessus.
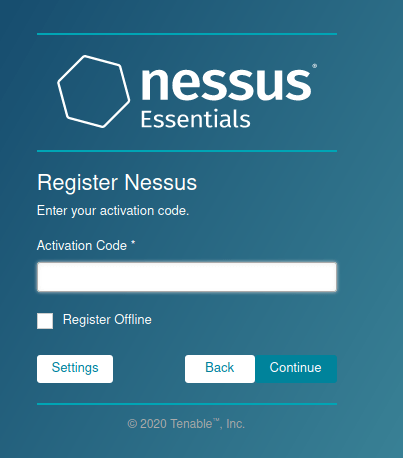
Step 7 – Fill out the Username and Password fields. Make sure to use a strong password!
Done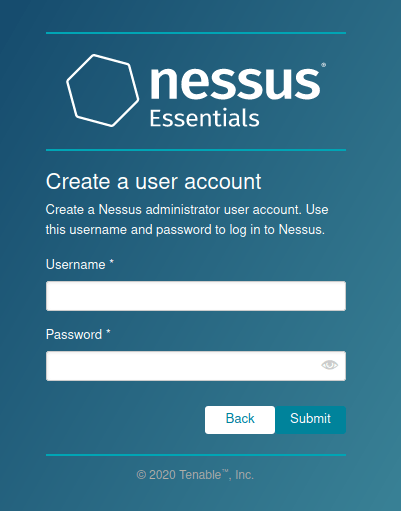
Step 8 – Nessus will now install the plugins required for it to function.
This will take some time, which will depend on your internet connection and the hardware attached to your VM.
If the progress bar appears to be not moving, it means you do not have enough space on the VM to install.
Done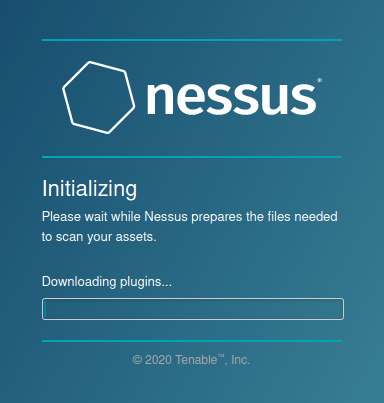
Step 9 – Log in with the account credentials you made earlier.
Done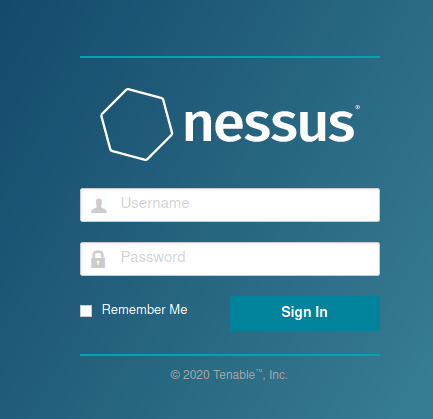
Step 10 – You have now successfully installed Nessus!
Done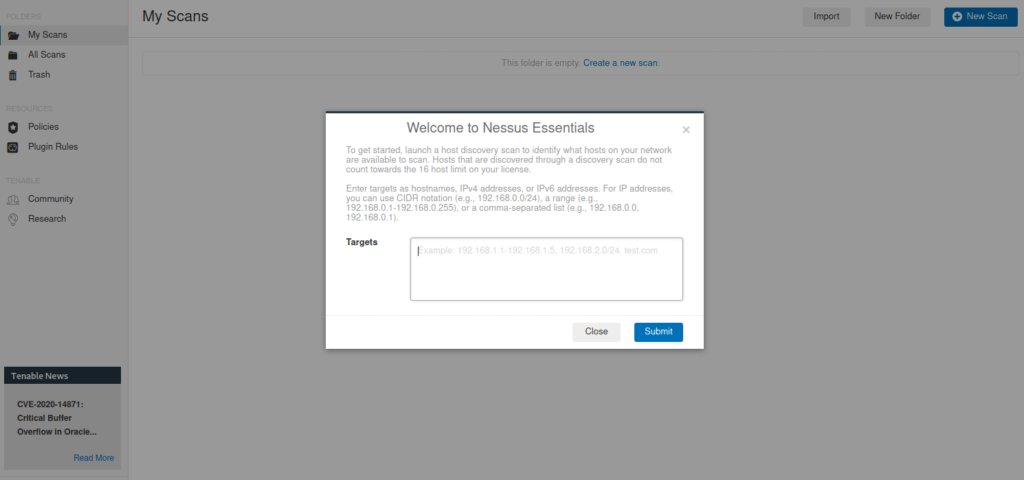
Task 3 – Navigation and Scans
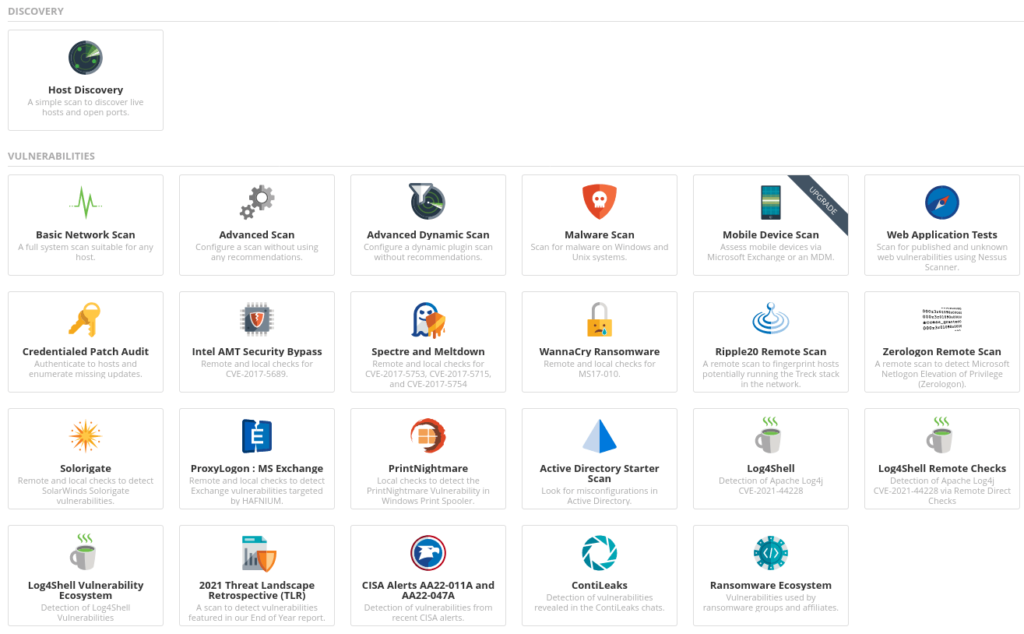
Question 1 – What is the name of the button which is used to launch a scan?
New ScanQuestion 2 – What side menu option allows us to create custom templates?

PoliciesQuestion 3 – What menu allows us to change plugin properties such as hiding them or changing their severity?

Plugin RulesQuestion 4 – In the ‘Scan Templates‘ section after clicking on ‘New Scan‘, what scan allows us to see simply what hosts are alive?
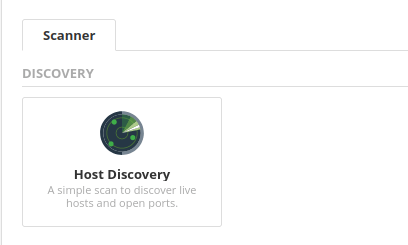
Host DiscoveryQuestion 5 – One of the most useful scan types, which is considered to be ‘suitable for any host‘?
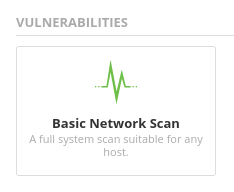
Basic Network ScanQuestion 6 – What scan allows you to ‘Authenticate to hosts and enumerate missing updates‘?
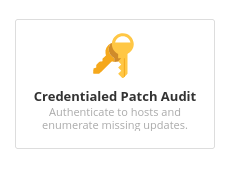
Credentialed Patch AuditQuestion 7 – What scan is specifically used for scanning Web Applications?
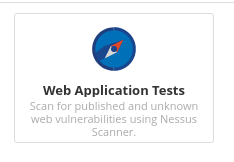
Web Application Tests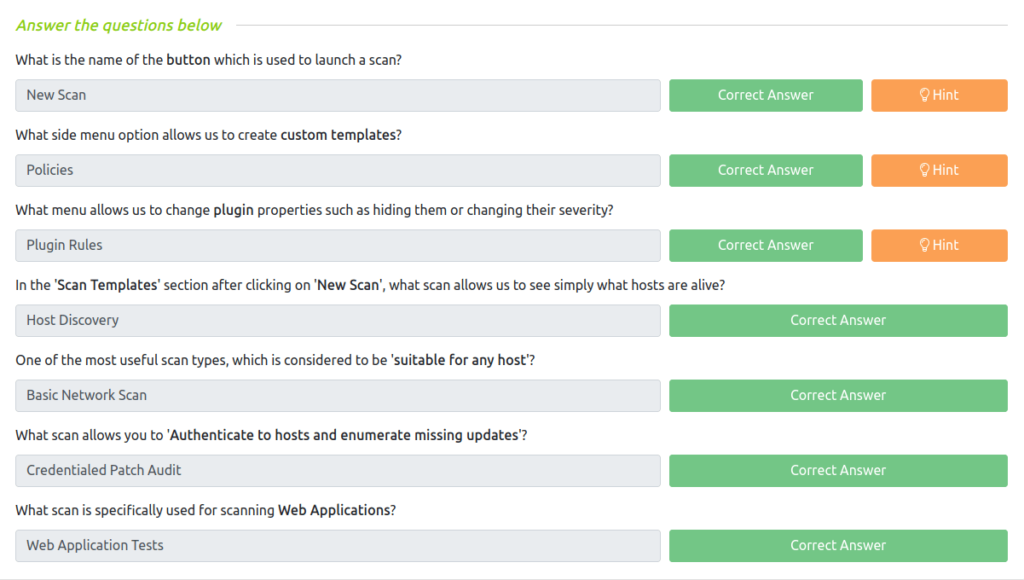
Task 4 – Scanning!
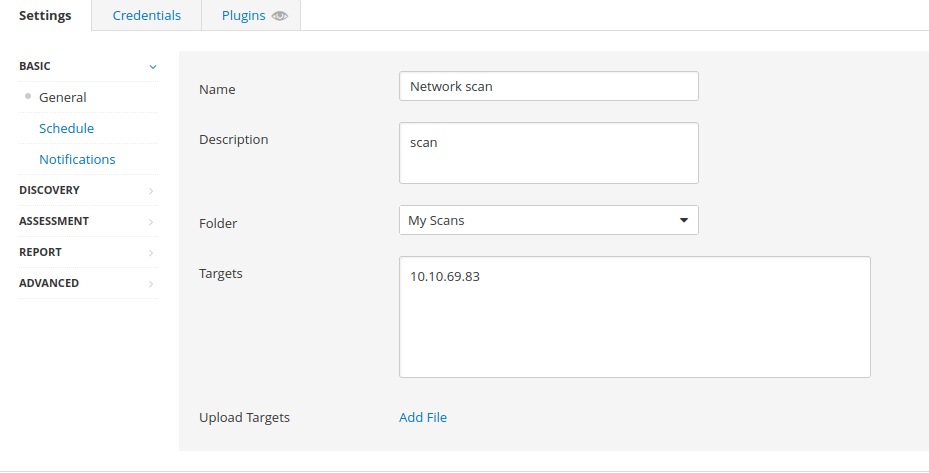
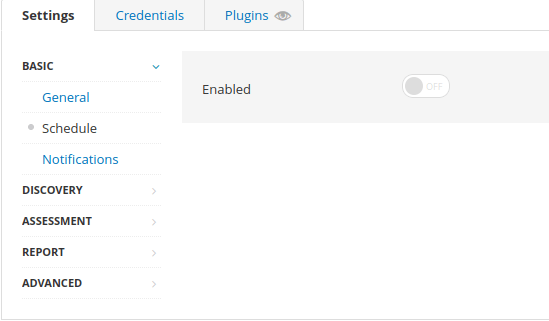
Question 1 – Create a new ‘Basic Network Scan‘ targeting the deployed VM. What option can we set under ‘BASIC‘ (on the left) to set a time for this scan to run? This can be very useful when network congestion is an issue.
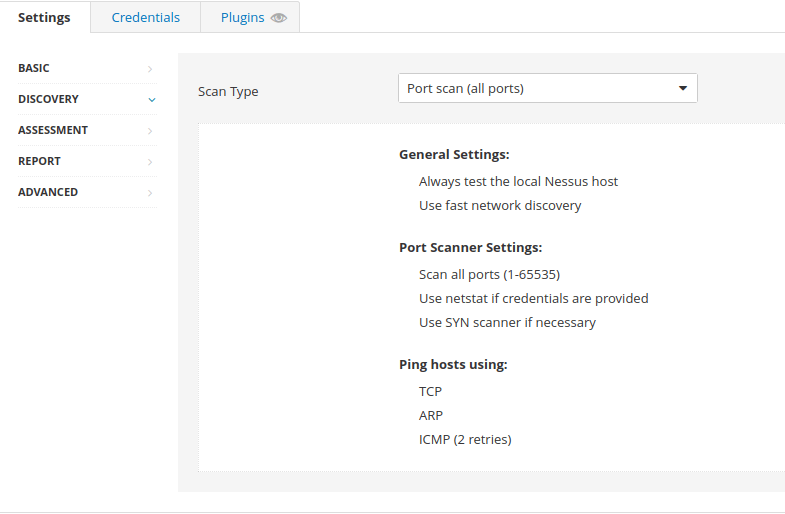
ScheduleQuestion 2 – Under ‘DISCOVERY‘ (on the left) set the ‘Scan Type‘ to cover ports 1-65535. What is this type called?
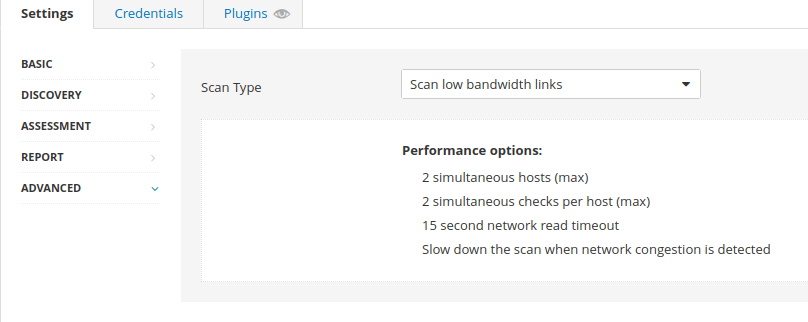
Port scan (all ports)Question 3 – What ‘Scan Type’ can we change to under ‘ADVANCED‘ for lower bandwidth connection?
Scan low bandwidth linksQuestion 4 – With these options set, launch the scan.
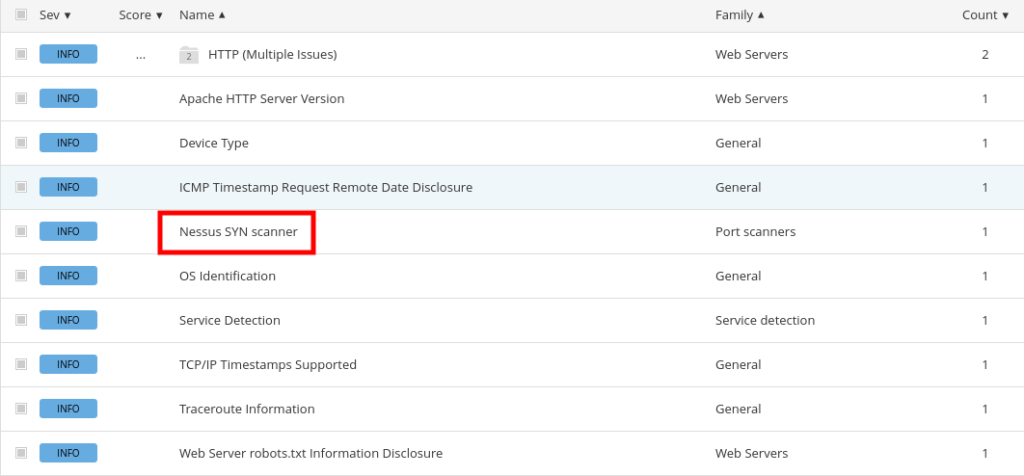
DoneQuestion 5 – After the scan completes, which ‘Vulnerability‘ in the ‘Port scanners‘ family can we view the details of to see the open ports on this host?
Nessus SYN scannerQuestion 6 – What Apache HTTP Server Version is reported by Nessus?
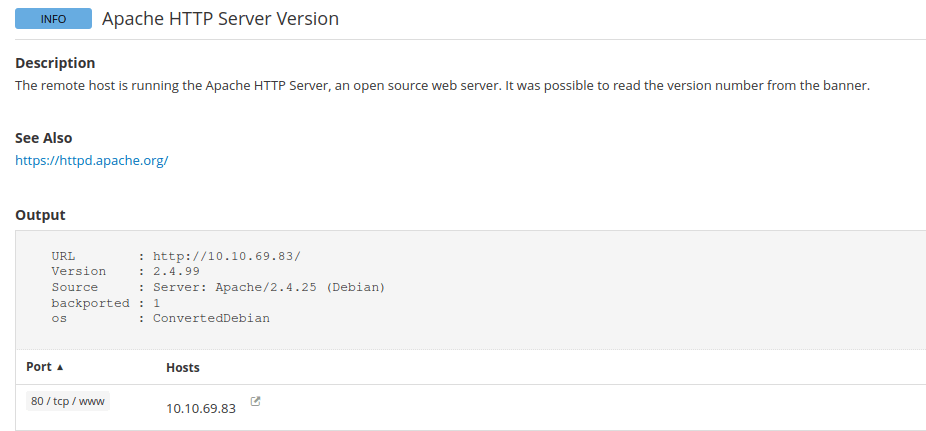
2.4.99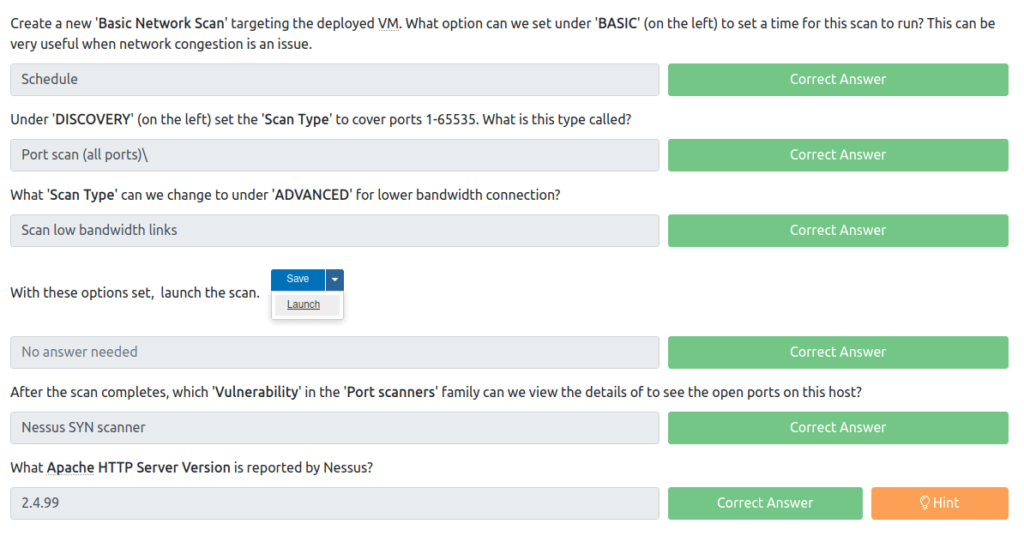
Task 5 – Scanning a Web Application!
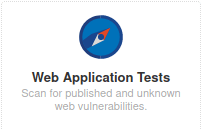
Run a Web Application scan on the VM!
(Running this Scan will take some time to complete, please be patient)
Question 1 – What is the plugin id of the plugin that determines the HTTP server type and version?
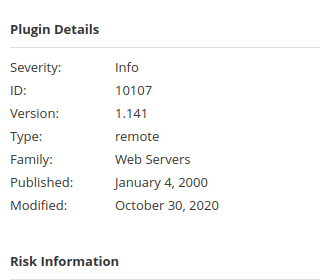
10107Question 2 – What authentication page is discovered by the scanner that transmits credentials in cleartext?
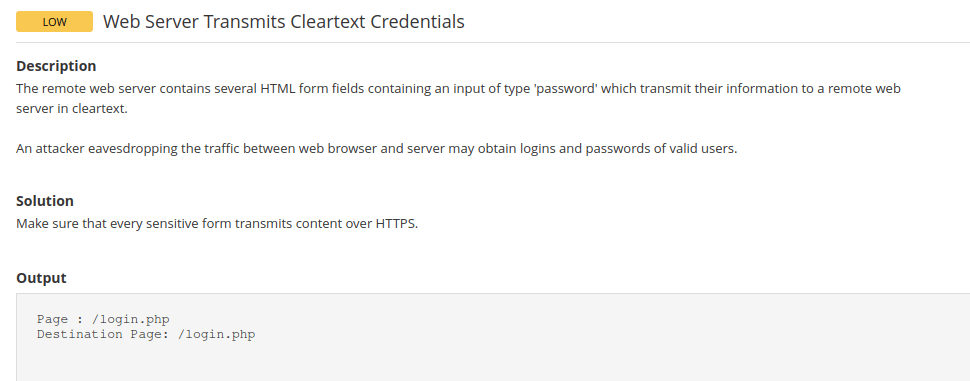
login.phpQuestion 3 – What is the file extension of the config backup?
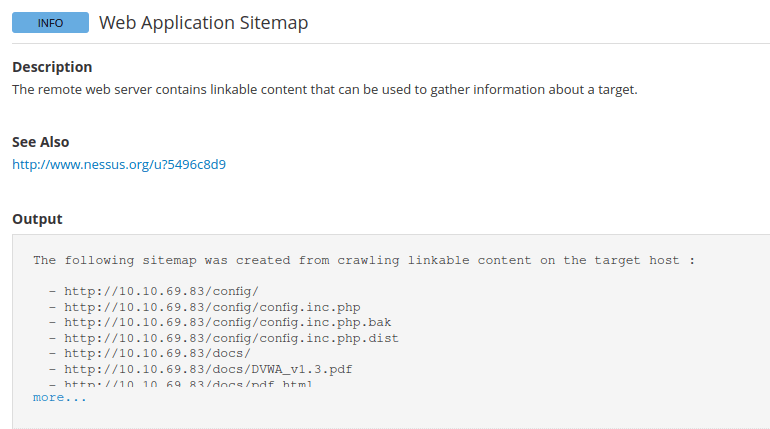
.bakQuestion 4 – Which directory contains example documents? (This will be in a php directory)
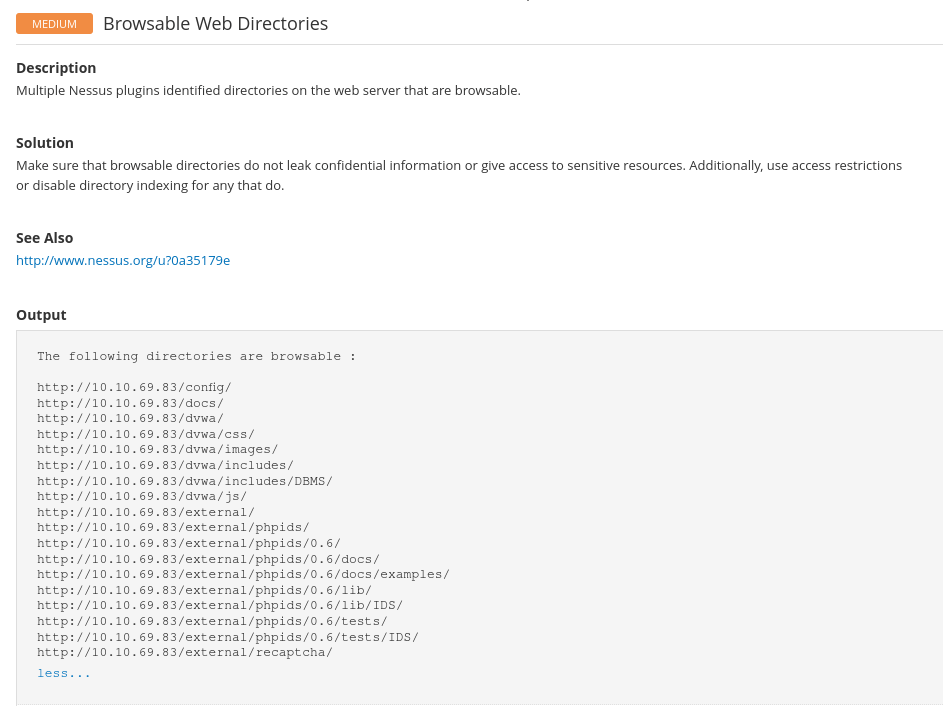
/external/phpids/0.6/docs/examples/Question 5 – What vulnerability is this application susceptible to that is associated with X-Frame-Options?
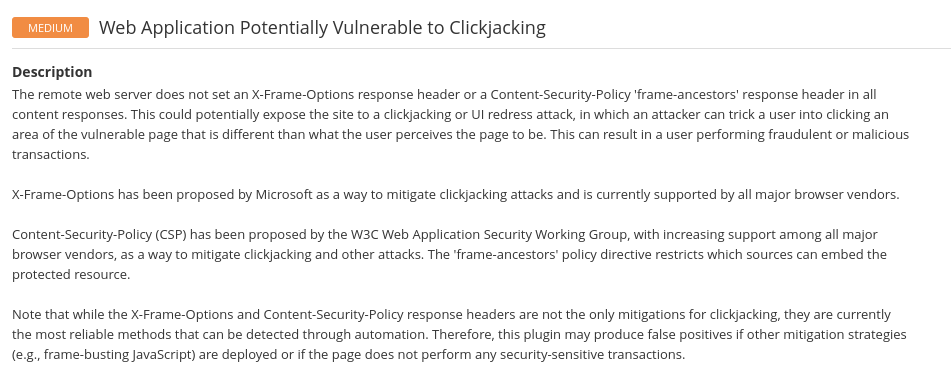
clickjacking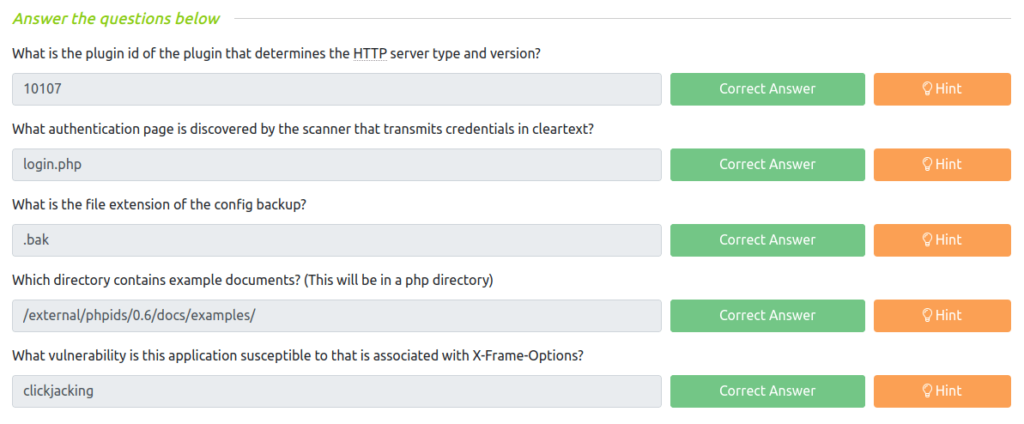
Also Read: Tryhackme – MITRE
So that was “Nessus” for you. In this room, we have covered one of the most popular and powerful vulnerability scanner – Nessus. We started with the setup and installation of the scanner. Then, moved into various types of scanning which it present. Also took a dive into some of the vulnerabilities found in the target VM. Overall, after completing this room we are well versed to work with Nessus Vulnerability Scanner. On that note, i would take your leave and will meet you in next one. Till then, “Happy hacking”.

