In this walk through, we will be going through the Burp suite room from Tryhackme. This room covers the basics of Burpsuite, which is one of the most famous tool that is used in web application pentesting. Having this in your arsenal is a must to go further in your pentesting journey. So, let’s get started.

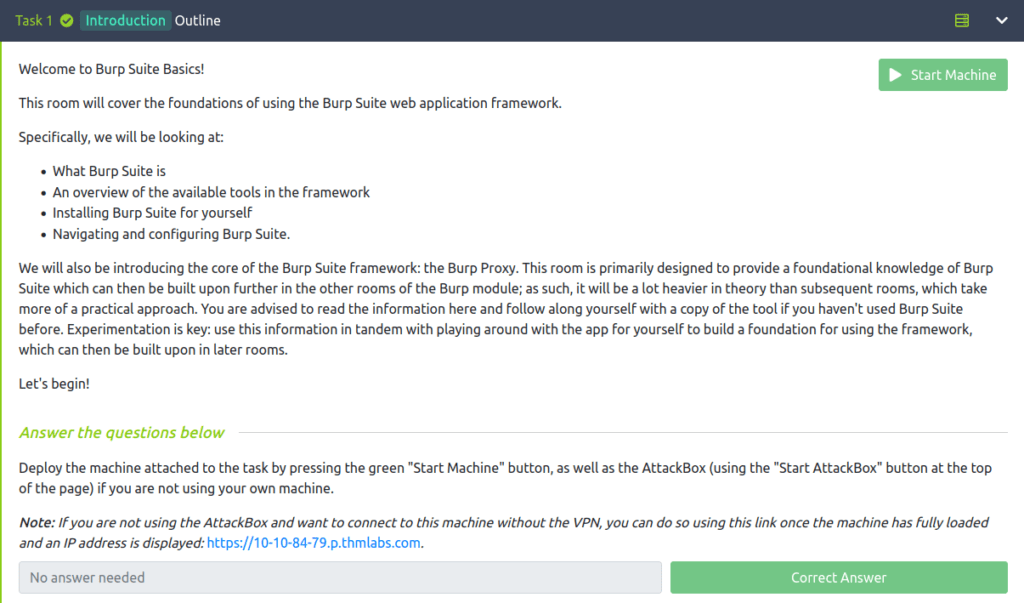
Task 1 – Outline
Task 2 – What is Burp Suite?
Question 1 – Which edition of Burp Suite will we be using in this module?
Burp Suite Community
Question 2 – Which edition of Burp Suite runs on a server and provides constant scanning for target web apps?
Burp Suite Enterprise
Question 3 – Burp Suite is frequently used when attacking web applications and __ applications.
mobile

Task 3 – Features of Burp Community
Question 1 – Which Burp Suite feature allows us to intercept requests between ourselves and the target?
proxy
Question 2 – Which Burp tool would we use if we wanted to bruteforce a login form?
Intruder

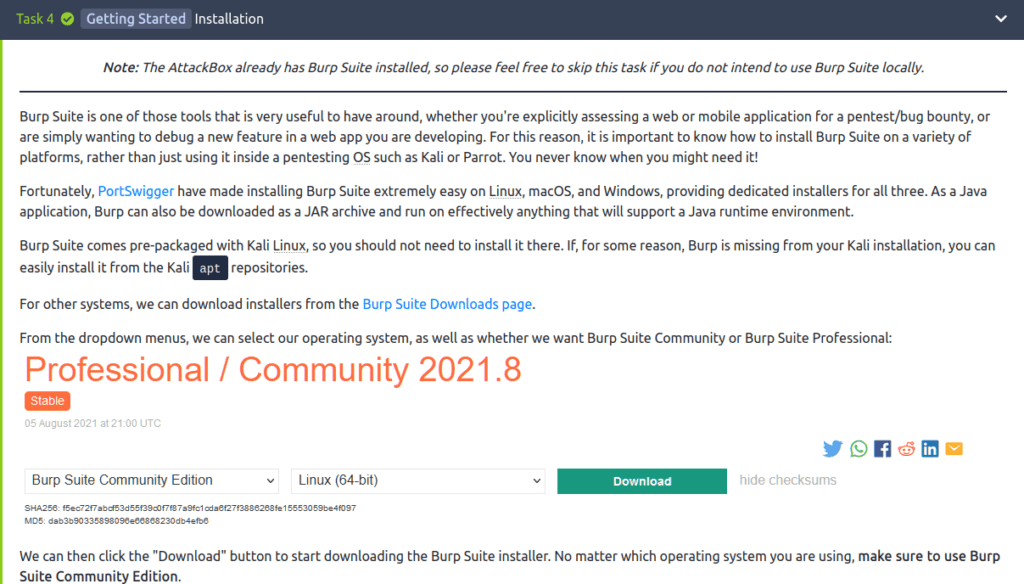
Task 4 – Installation
Task 5 – The Dashboard
Question 1 – Open Burp Suite and have a look around the dashboard. Make sure that you are comfortable with it before moving on.
Done

Task 6 – Navigation
Question 1 – Get comfortable navigating around the top menu bars.
Done

Task 7 – Options
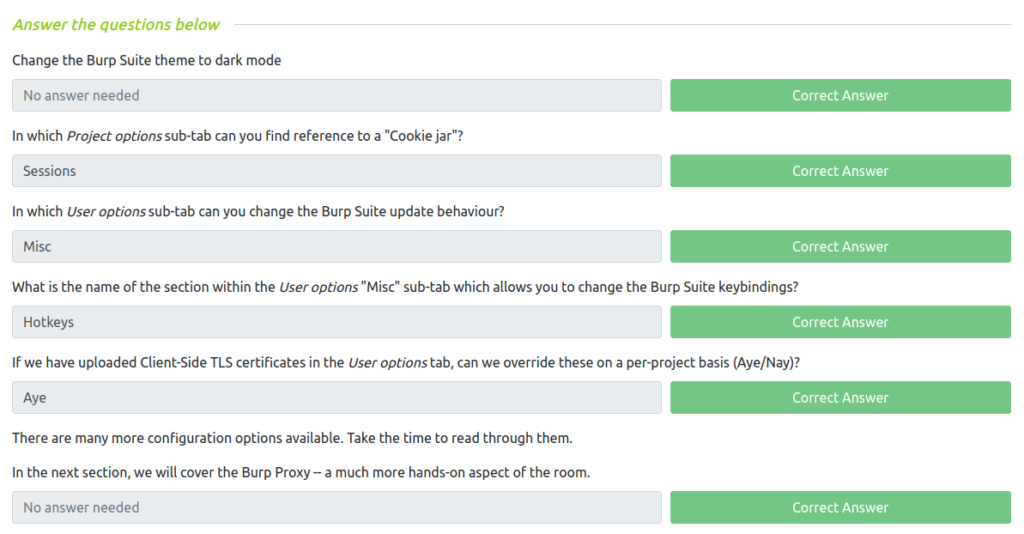
Question 1 – Change the Burp Suite theme to dark mode
Done
Question 2 – In which Project options sub-tab can you find reference to a “Cookie jar”?
Sessions
Question 3 – In which User options sub-tab can you change the Burp Suite update behaviour?
Misc
Question 4 – What is the name of the section within the User options “Misc” sub-tab which allows you to change the Burp Suite keybindings?
Hotkeys
Question 5 – If we have uploaded Client-Side TLS certificates in the User options tab, can we override these on a per-project basis (Aye/Nay)?
Aye
Question 6 – There are many more configuration options available. Take the time to read through them.
Done
Task 8 – Introduction to the Burp Proxy
Question 1 – Which button would we choose to send an intercepted request to the target in Burp Proxy?
Forward
Question 2 – What is the default keybind for this?
Ctrl+F

Task 9 – Connecting through the Proxy (FoxyProxy)
Question 1 – There is one particularly useful option that allows you to intercept and modify the response to your request.
Response to this request
Question 2 – [Bonus Question — Optional] Try installing FoxyProxy standard and have a look at the pattern matching features.
Done

Task 9 – Proxying HTTPS
Question 1 – If you are not using the AttackBox, configure Firefox (or your browser of choice) to accept the Portswigger CA certificate for TLS communication through the Burp Proxy.
Done

Task 10 – The Burp Suite Browser
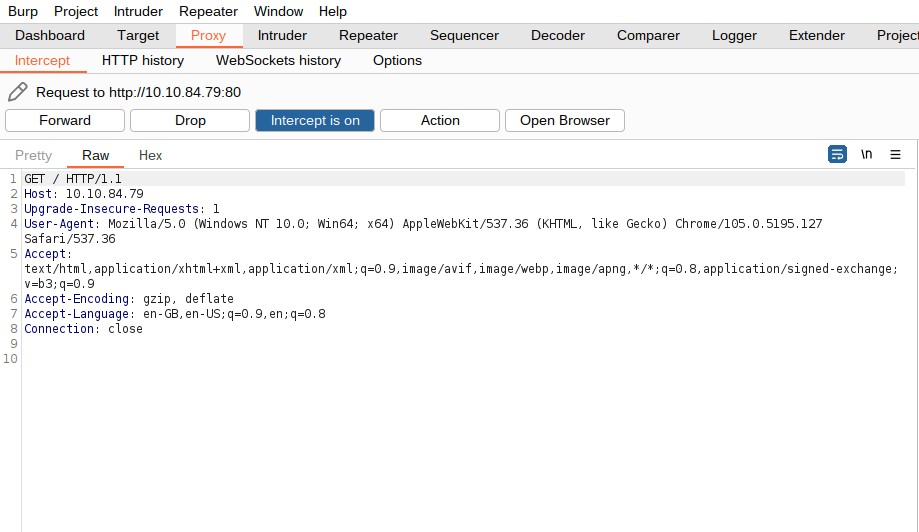
Question 1 – Using the in-built browser, make a request to http://10.10.84.79/ and capture it in the proxy.
Done

Task 11 – Scoping and Targeting
Question 1 – Add http://10.10.84.79/ to your scope and change the Proxy settings to only intercept traffic to in-scope targets.
Done

Task 13 – Site Map and Issue Definitions
Question 1 – What is the flag you receive?
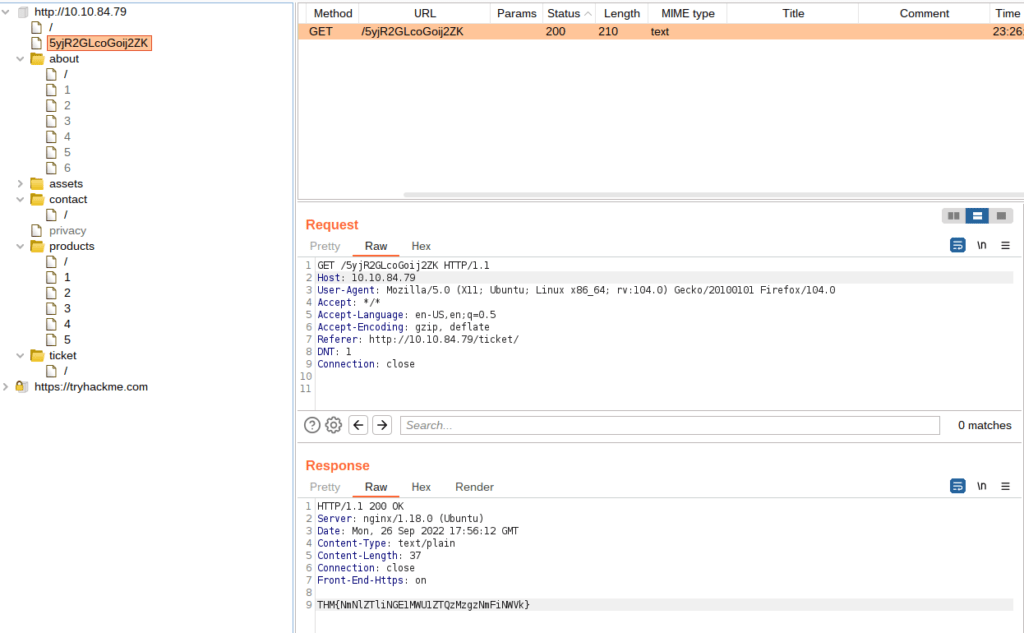
THM{NmNlZTliNGE1MWU1ZTQzMzgzNmFiNWVk}Question 2 – What is the typical severity of a Vulnerable JavaScript dependency?
Low

Task 14 – Example Attack
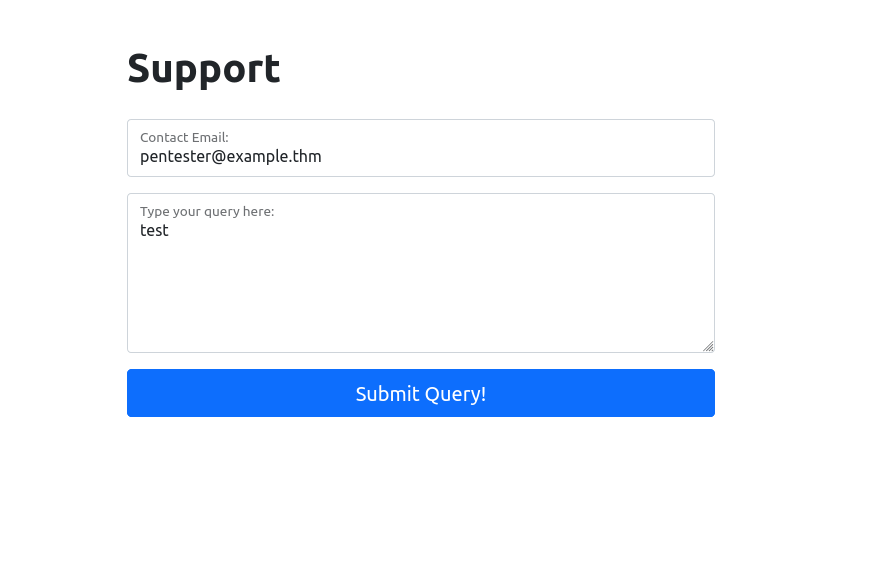
We will start by taking a look at the support form at http://10.10.84.79/ticket/:
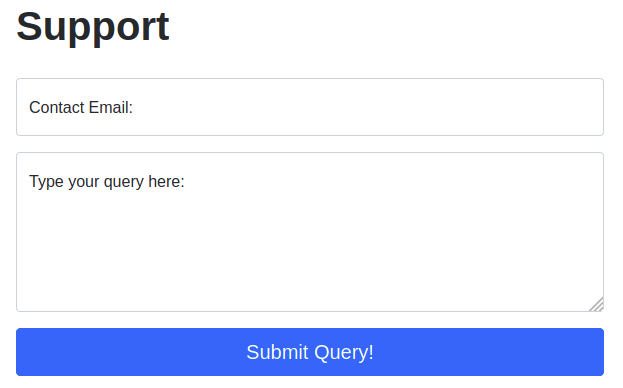
In a real-world web app pentest, we would test this for a variety of things: one of which would be Cross-Site Scripting (or XSS). If you have not yet encountered XSS, it can be thought of as injecting a client-side script (usually in Javascript) into a webpage in such a way that it executes. There are various kinds of XSS — the type that we are using here is referred to as “Reflected” XSS as it only affects the person making the web request.
Try typing: <script>alert("Succ3ssful XSS")</script>, into the “Contact Email” field. You should find that there is a client-side filter in place which prevents you from adding any special characters that aren’t allowed in email addresses:
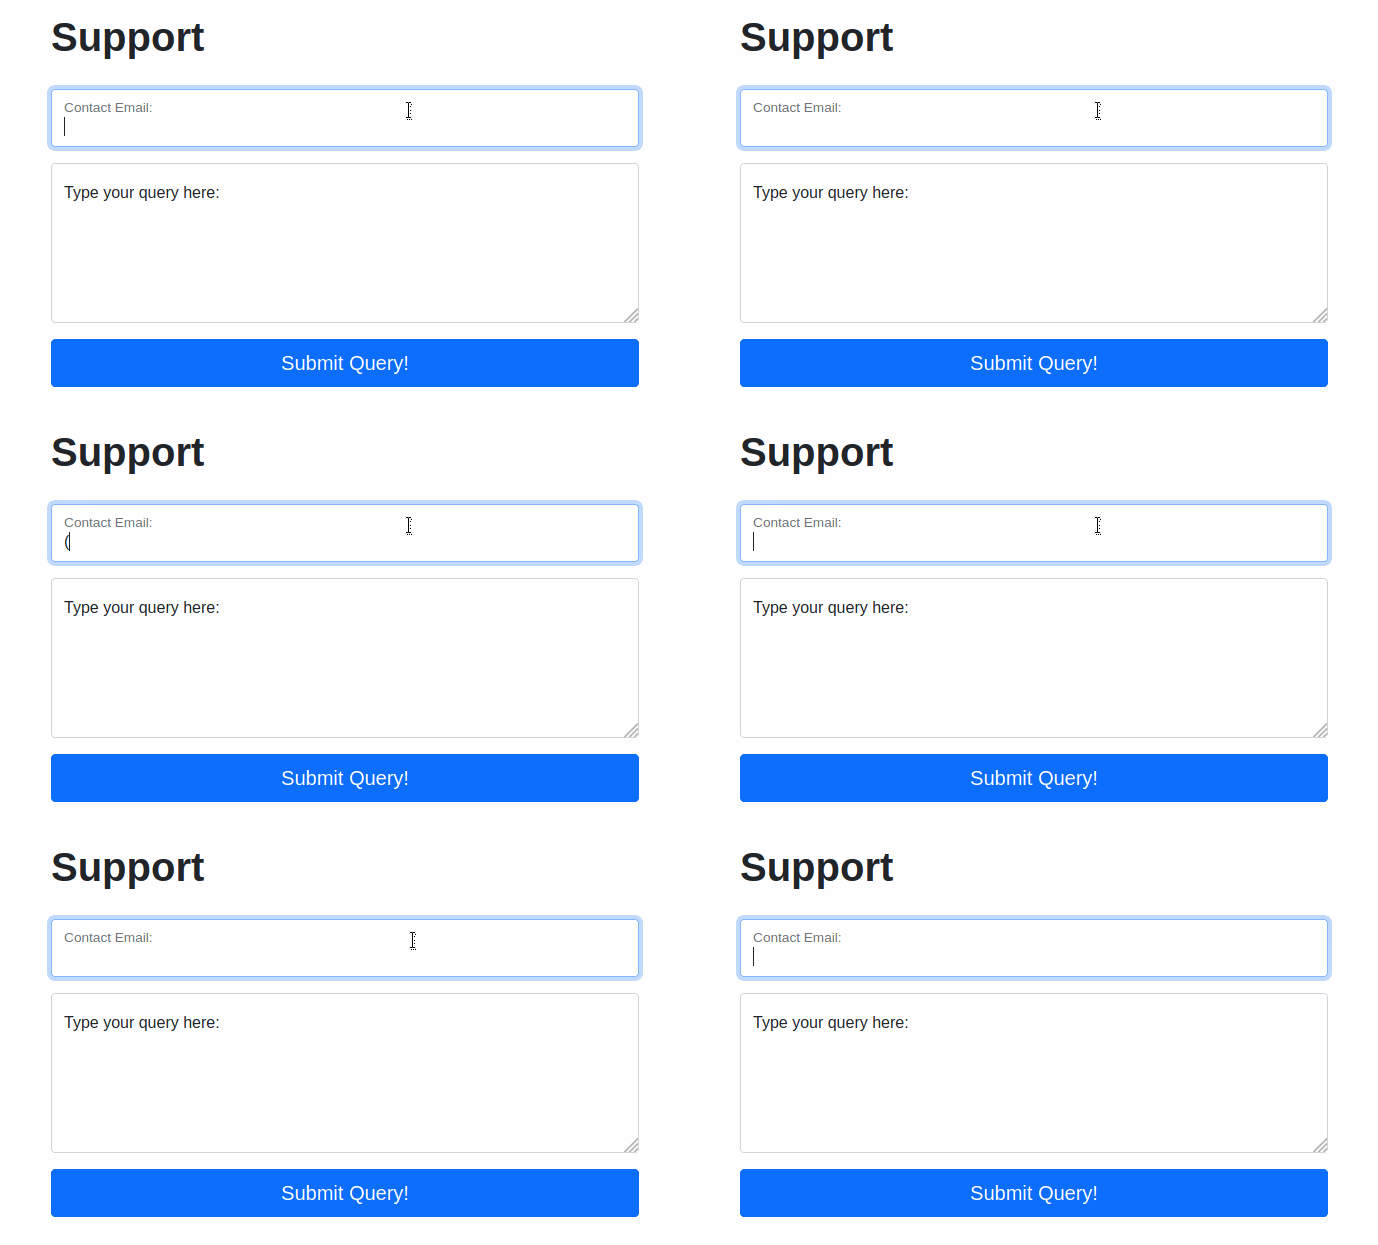
Fortunately for us, client-side filters are absurdly easy to bypass. There are a variety of ways we could disable the script or just prevent it from loading in the first place.
Let’s focus on simply bypassing the filter for now.
First, make sure that your Burp Proxy is active and that the intercept is on.
Now, enter some legitimate data into the support form. For example: “pentester@example.thm” as an email address, and “Test Attack” as a query.
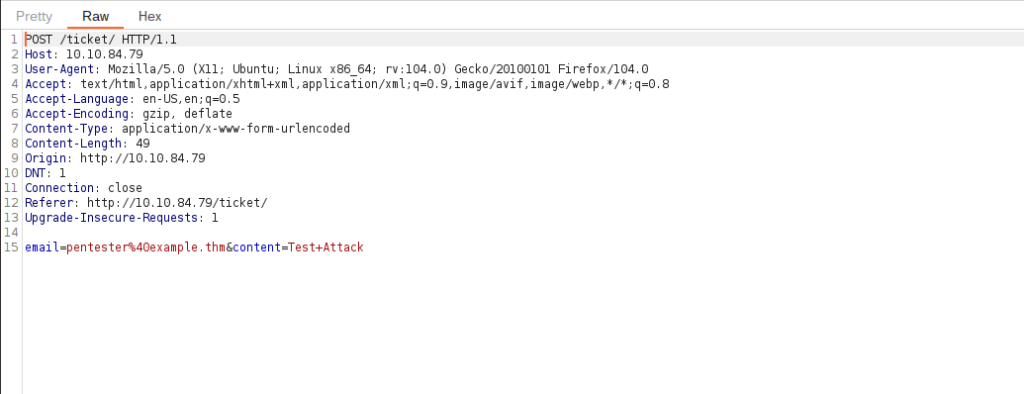
Submit the form — the request should be intercepted by the proxy.
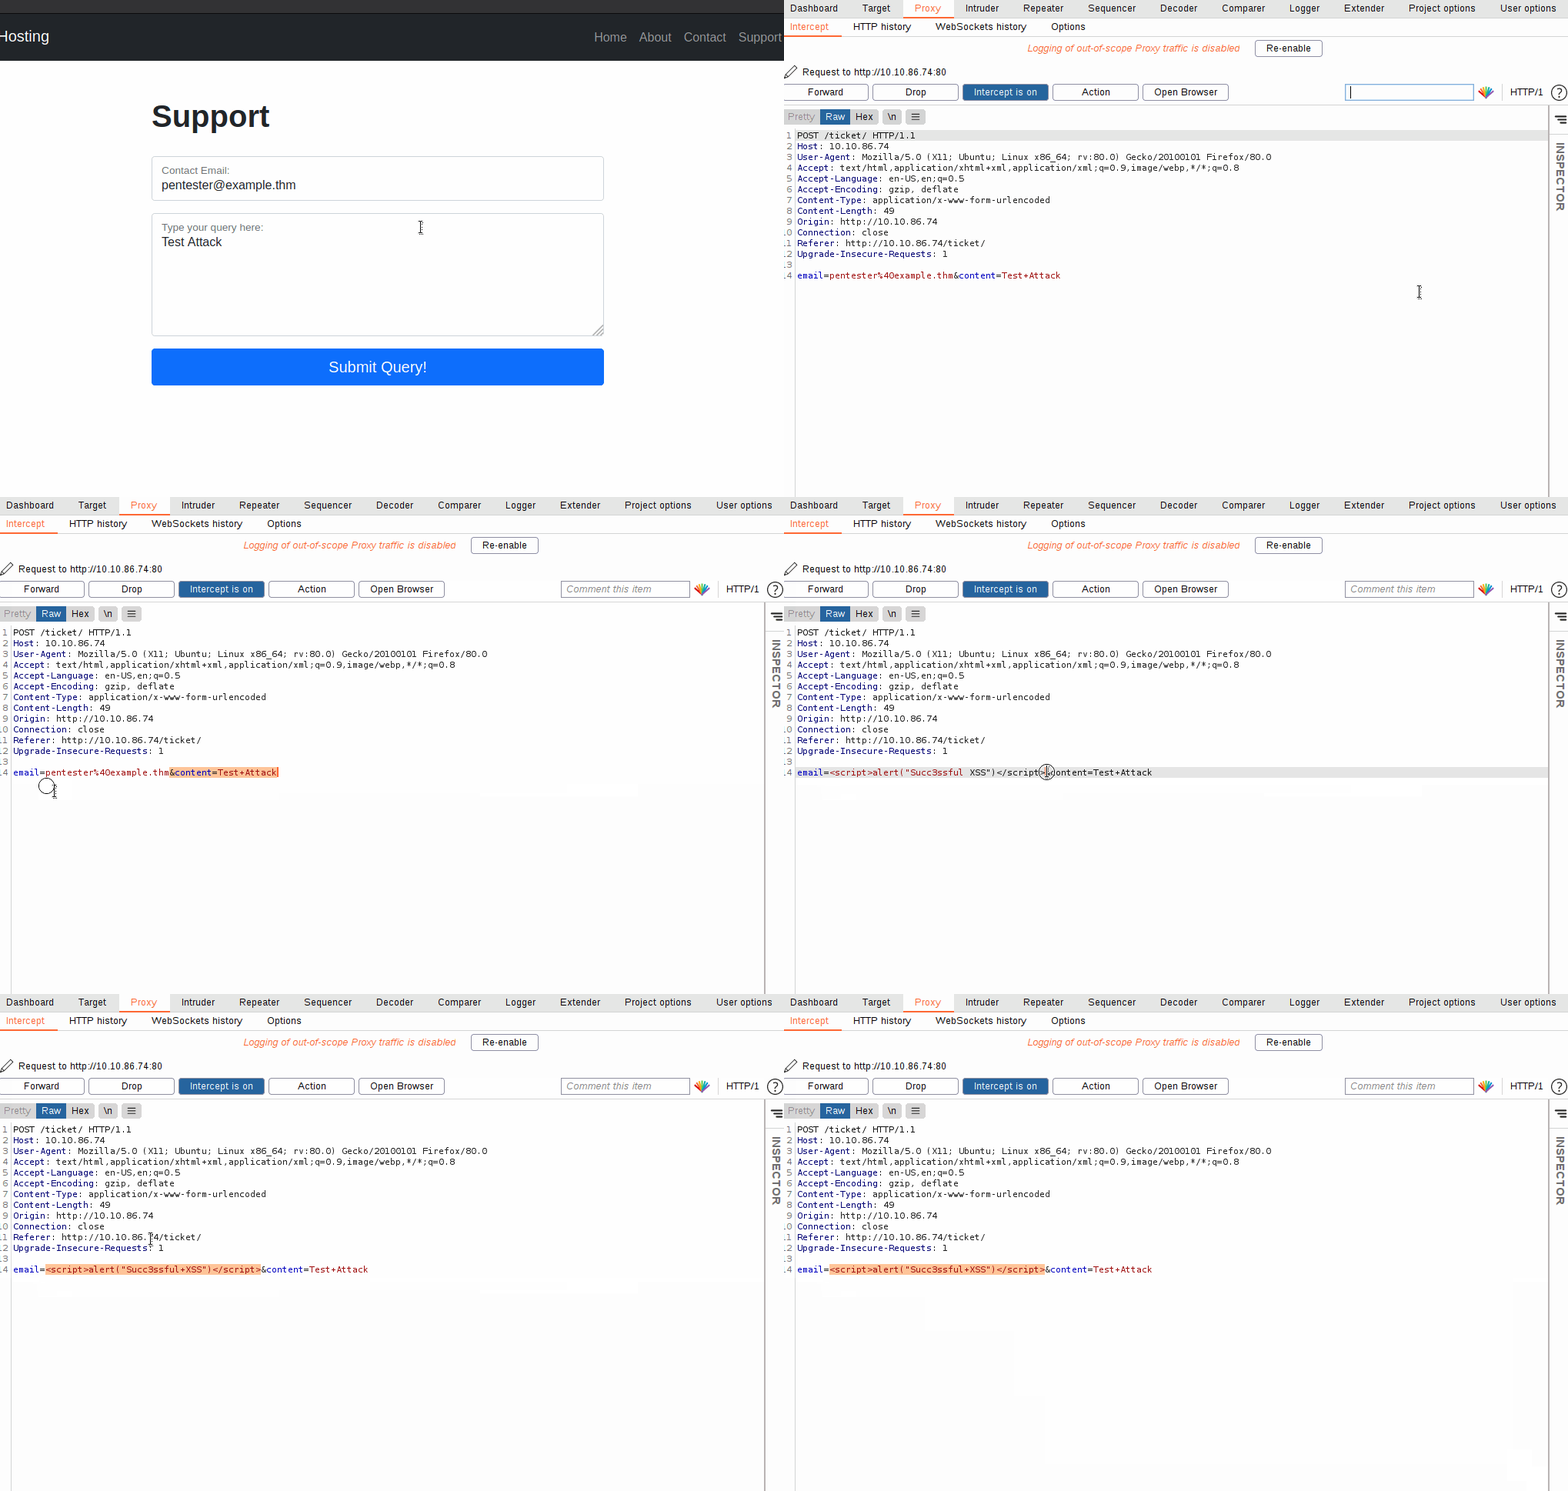
With the request captured in the proxy, we can now change the email field to be our very simple payload from above: <script>alert("Succ3ssful XSS")</script>. After pasting in the payload, we need to select it, then URL encode it with the Ctrl + U shortcut to make it safe to send. This process is shown in the GIF below:
Finally, press the “Forward” button to send the request.
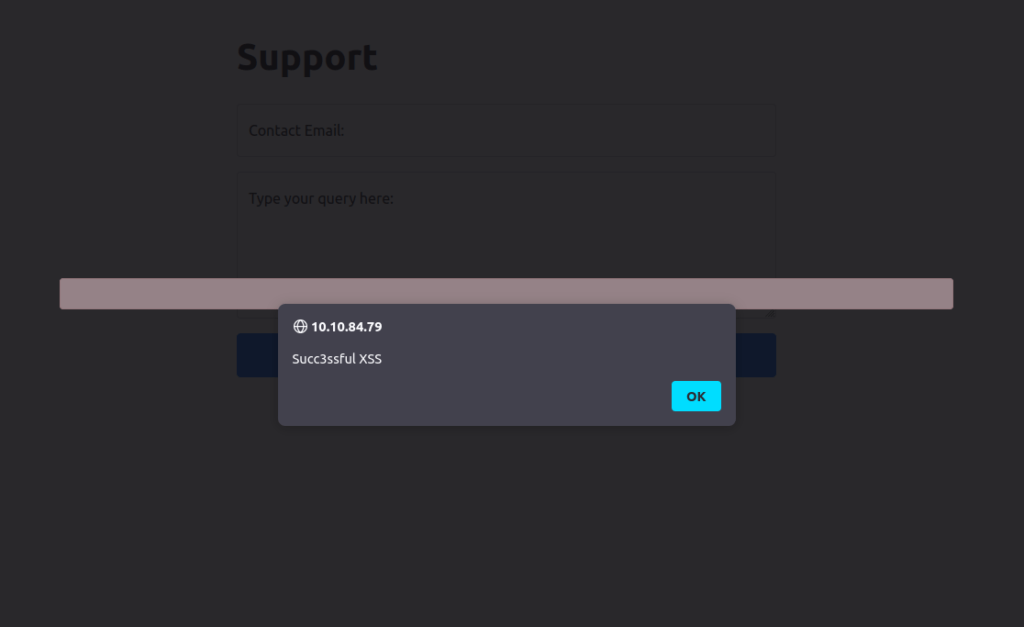
You should find that you get an alert box from the site indicating a successful XSS attack!
Task 15 – Room Conclusion

Also Read: Tryhackme – Brooklyn nine nine
Conclusion:

So that was it. We started with the basics from installation to covering various options in the tool. Going further, we understand how to configure the Foxyproxy plugin for burpsuite. Next, we learned how to capture request and how to manipulate it as per our requirement. With this in mind, try to play with some web apps and get more familiar with this tool. Till then, i will take your leave, but remember to “Keep Hacking”.

